I love dry fruit. I love chewy fruit leathers. I love beef jerky. All of these are a must-have when I’m out on the trail. So I had the bright idea that, instead of spending money on just small amounts of these delicious snacks, I could make my own versions for much cheaper!
Attention: My post may contain Amazon affiliate links! As an Amazon Associate I earn from qualifying purchases.
After spending hours online reading reviews, looking through forums to find the perfect dehydrator, lo’ & behold I found the Excalibur 9-tray dehydrator. It had everything! 15 square foot drying capacity, a 48 hour self-operating timer, a clear door for your viewing pleasure, everything a novice dehydrating pioneer could want!
“But Andy,” you may ask, “why do you need large, 9-tray dehydrator with all the bells and whistles? Isn’t that a bit of an overkill?” Yeah, that’s what my husband asked too.
But this thing is the king of all dehydrators!
I justified the purchase by pointing out all the not-so-good-for-you stuff in our backpacking food, including unnecessary salts, sugars and, the most evil ingredient of all, gluten. I’m gluten-intolerant.
I’ve been gluten free since 2015 but going GF was born out of necessity, not choice. I absolutely ADORED wheat in all forms: pasta, bread, muffins, cakes, you name it.
Why did I got GF? I have a gastrointestinal issue called Irritable Bowel Syndrome (IBS) that can be caused by a build-up of bad bacteria in your intestines or by your brain and gut not communicating. Unfortunately for me that means I need to stay away from gluten. Some people aren’t affected by gluten (lucky them) but when I get gluten-bombed I basically end up on the bathroom floor in the fetal positions…for hours. Yeah, not fun.
Hence, my new Excalibur!
With a dehydrator you can create your own recipes for backpacking meals and snacks without all the not-so-good-for-you junk. It’s also perfect for people who want to get creative with their meals or have allergies like, milk, gluten or nut.
I was thrilled to try dehydrating all my favorite food but I definitely wanted to start with a must-have trail item: Jerky.
There are tons of different jerkies out there like beef, turkey, salmon, to delicious flavors like sweet teriyaki or hot chipotle. Since I had never made jerky before I decided to check Pinterest to see what was popular. Pinterest didn’t disappoint – there were thousands of recipes. Yikes!
I skimmed a few, got the general idea, and just started gathering items from the fridge, basically using ingredients I already had at home. FYI, this is a great way to use up the condiments just sitting around in your fridge.
Another great thing about jerky? You put everything into a gallon size freezer bag which makes for a ridiculously easy clean up!
So, here is my gluten free jerky recipe which, according to my husband, was honestly Spot On!
Related: Easy Dehydrated Pineapple
SPOT-ON BEEF JERKY
Tools:
Ingredients:
- 1.5 Pounds Lean London Broil or Flank Steak (as lean as you can find)
- 1 cup Gluten-free Soy Sauce (you can use regular if you want)
- 1/2 cup Worcestershire Sauce
- 3 Tablespoons Sriracha Sauce
- 1 Tablespoon Brown Sugar (packed)
- Black pepper, to taste

Counter-clockwise: Flank Steak, Sriracha, Gluten-free Soy Sauce, Worcestershire Sauce, Pepper and Brown Sugar
Instructions:
Cut as much fat off the beef as you can or purchase a very lean cut.
Place the beef into the freezer bag and store in the freezer for 1 to 1.5 hours max to harden – trust me, this will make it much easier to cut even slices.
Once the meat is a little stiff, use a very sharp knife to create ¼ inch thick pieces. Don’t worry about how long the strips are, as long as the thickness is uniformed they’ll dry evenly.

Freeze meat for 1 hour prior to cutting, this will help ensure even slices.
Combine all ingredients into a gallon freezer bag, making sure to have the meat completely covered. Go ahead and give it a little massage. 🙂
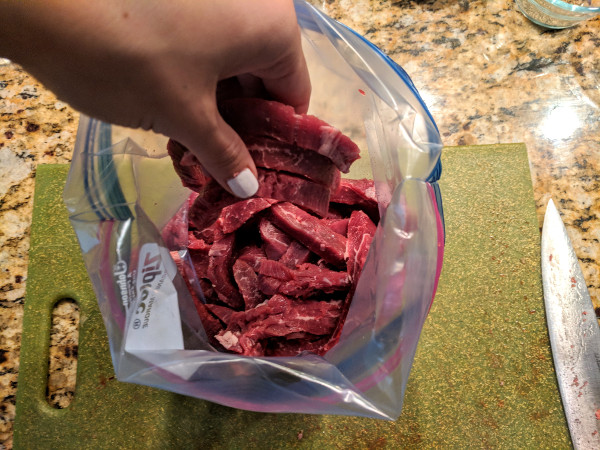
Put the meat into the freezer bag.
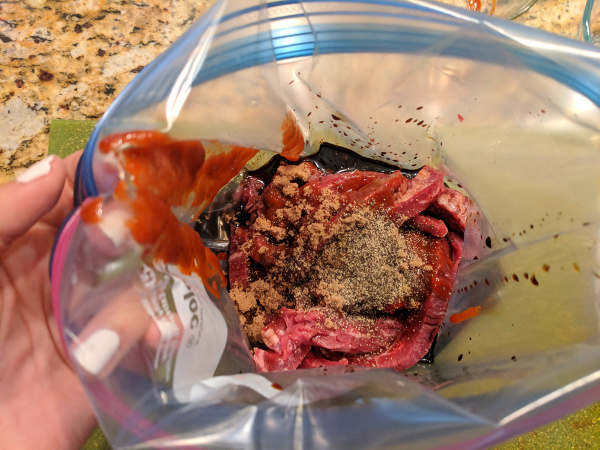
Add the wet and dry ingredients into the freezer bag.
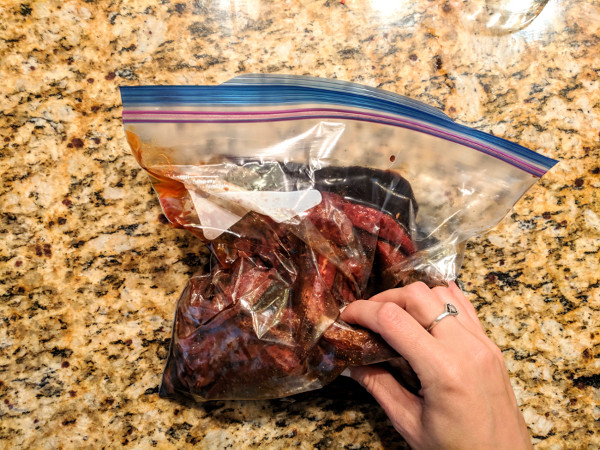
Give the bag a little massage so the marinade gets into the meat.
Chill in the refrigerator a minimum of 3 hours or up to 24 hours.
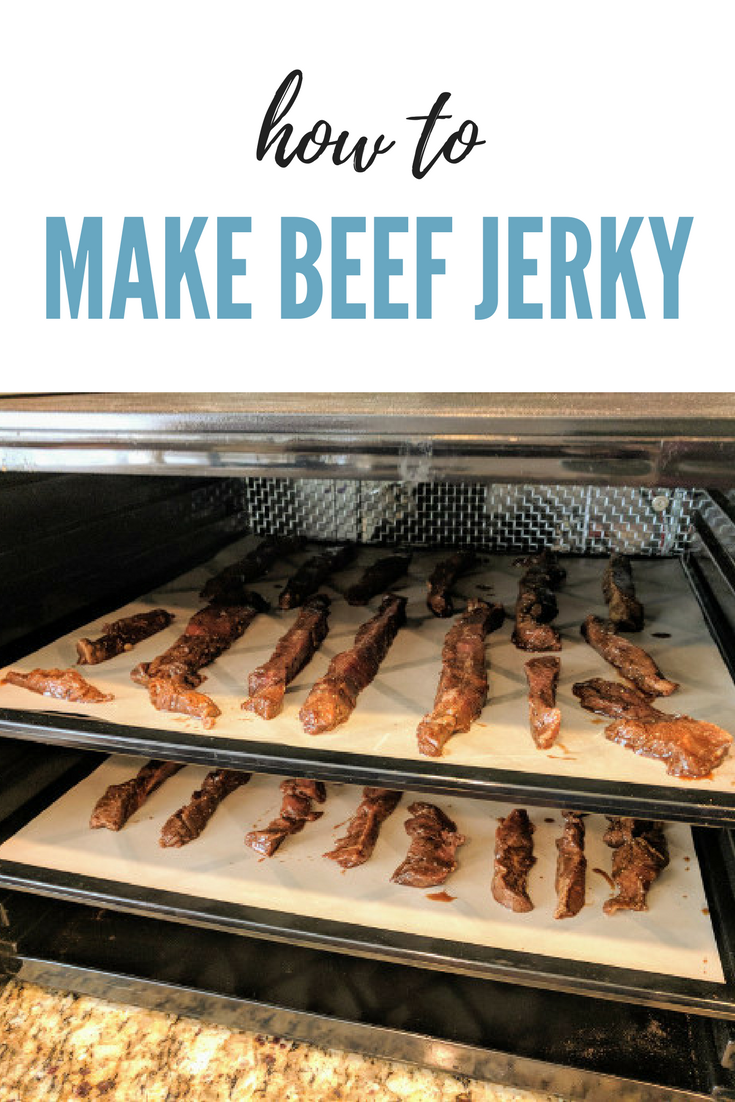
After the meat is done marinating, take out the freezer bag and gently place each piece on a dehydrator tray covered with an non-stick sheet. Don’t overcrowd the sheets – you want to get even drying.

Lay out the meat on your dehydrating mats about 1″ apart. Don’t over crowd.
Place in the dehydrator, making sure the door is securely closed so no dry air escapes.
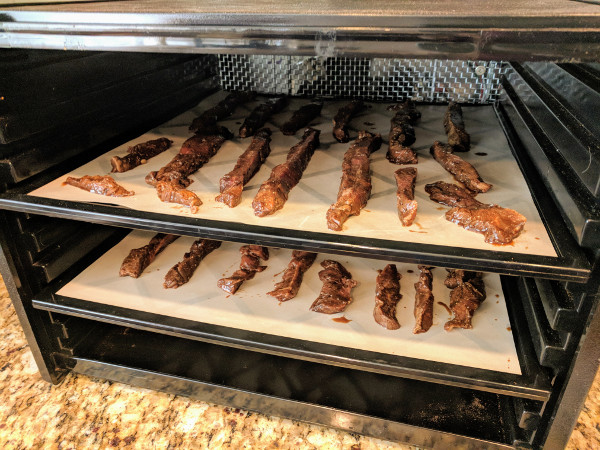
Doesn’t that look delicious!
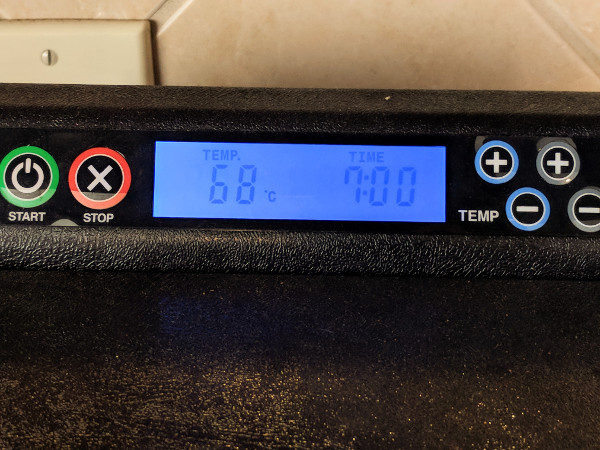
Set the temperature at 155° F for 5-6 hours (depending on the humidity in your area) or until the meat is completely dry.
It should ‘crack’ when you bend it. If it doesn’t, it needs more time.
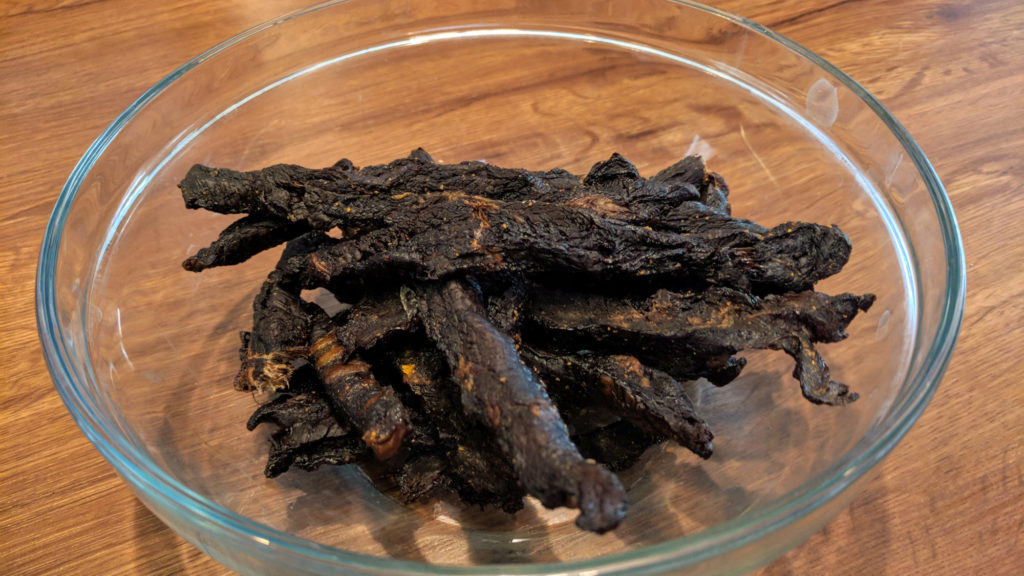
Voila! The final product of your hard work!
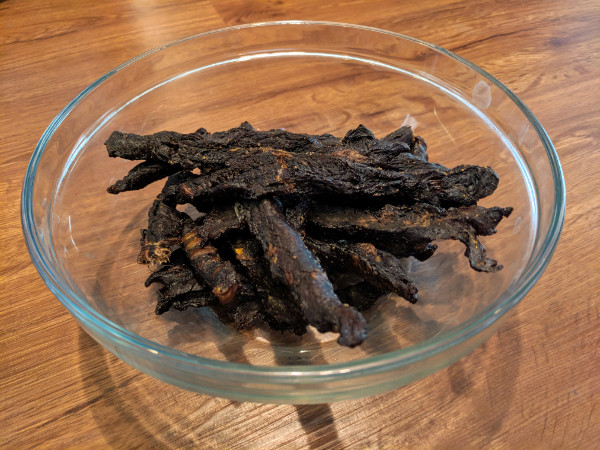
The final product!
Store in an air-tight container. The jerky should last 1 month.
Related: Easy Dehydrated Pineapple
Have you tried this out? Feel free to leave a comment down below!