Backpacking gear isn’t cheap. You spend hundreds of dollars on gear that is meant to take a beating out in the backcountry. Not only that but this is stuff that’s…
Backpacking gear isn’t cheap.
You spend hundreds of dollars on gear that is meant to take a beating out in the backcountry. Not only that but this is stuff that’s meant to help you survive in the wilderness so it’s got to perform. Right?
Surprise, surprise! That gear won’t last long if you don’t care for it after each trip and during the off season.
So the question now….how do you clean and store your backpacking items?
If you do a general online search you will come up with hundreds of videos and thousands of websites. There are manufacturer instructions, organic/eco-friendly solutions, brand name chemicals and so on.
How do you get through all that info in order to find out what really works? That’s where this post comes in.
I’ve broken down the standard backpacker’s gear list to the most basic items: clothing, boots, sleeping bag, pad, water filter, bladders, tent and backpacking bag. I’ve done internet research, performed trials on my own gear and checked out backpacker forums, all so you don’t have to.
All this has led to creating the easiest, most comprehensive guide to cleaning and storing your backpacking gear.
So check it out below! 🙂
The Ultimate Care Guide for Your Backpacking Gear
Attention: My post may contain Amazon affiliate links! As an Amazon Associate I earn from qualifying purchases.

Clothing
Washing:
Clothing is a pretty important part of your gear. Clothing keeps you warm, helps cool you off, protects you from rain, sun, UV damage, the list goes on. So taking care of your backpacking clothing is crucial to making sure they last a while.
Whenever buying a new piece of backpacking (hiking & camping too!) clothing, make sure to always read the care instructions. This is the best place to look to see how much effort will be necessary to keep your garments performing as they’re supposed to.
Also be aware that some items cannot go into a dryer, particularly items that are made of 100% wool or have bug-repellent chemicals like permethrin woven into the material.
Those items, along with quick-drying or waterproof garments, will have to be hung to dry.
Personally, I spend a good chunk of money on my backpacking clothing so I usually wash my things in cold/warm water, with a non-scented, non-bleach detergent and then hang dry.
Storing:
You wash your clothing. You fold them. And then you put them away. Sounds pretty darn easy, right?
What about when you’re looking for that pair of hiking shorts or your favorite quick-drying shirt? Perhaps you picked up your spouse’s sock liners thinking they were yours?
Just like you would with your day-to-day clothing, your backpacking clothes need to be organized. Not only will it be easier to find what you’re looking for but when that last minute trip comes around, you’ll be able to pack faster!
I use large, clear storage containers with lids – very similar to these from Sterilite. I also use these to separate backpacking gear from camping, as well as for loaner gear when friends come on trips with us.
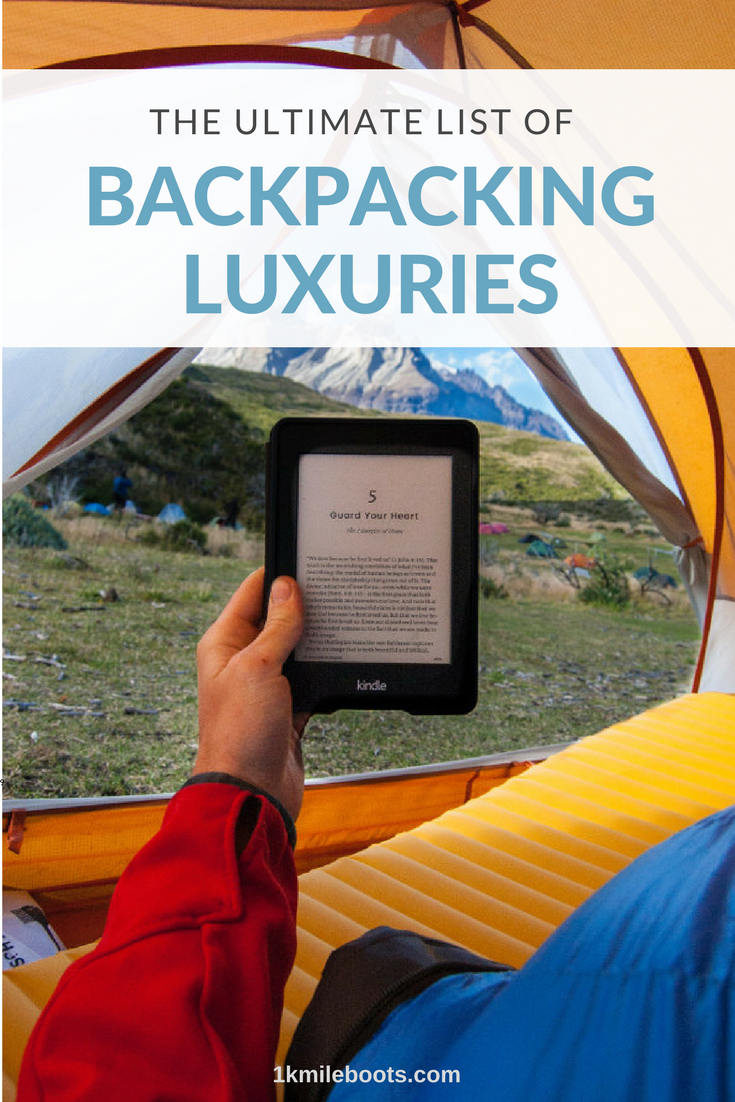
Related: The Ultimate List of Backpacking Luxuries

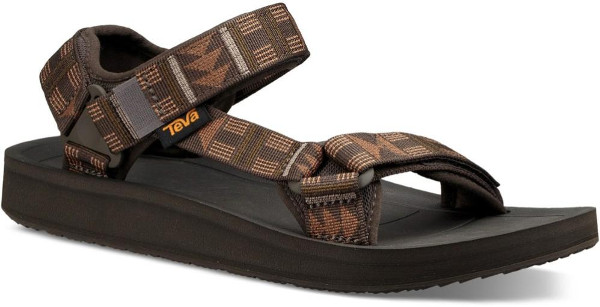
Boots
Washing:
“You’re telling me to wash my boots?” You might ask with some surprise. Yep! Wash those suckers but don’t do it by throwing them into the washer.
Instead grab a soft cloth, warm water and gentle soap and a non abrasive sponge. Oh, and a screwdriver.
Use the screwdriver to dislodge small pebbles that can become trapped in the treads. You can also use it to break up dried mud between treads.
Once your boot is clear of debris, use the water, soap and sponge to gentle clean the exterior of your boot.
If you need to clean the inside, take out the insoles (if you have them) and rub down the interior with a damp sponge and gentle soap. Repeat the process with a clean, damp sponge to get the soap out. Always air dry.
Since there is a wide array of boots, ranging from near-naked footies to Gortex covered mountaineering shoes, you might need to do some additional research or check the manufacturer’s website before washing.
If your boots need waterproofing, wash them first and then apply the solution while the leather is still damp. Follow REI’s directions for waterproofing.
You do not need to waterproof your boots if they are Gortex.
Storing:
When it comes to our shoes, we typically kick them off into a random corner of the room. But you should probably show some love to your backpacking shoes. After all, they’re an essential part of your backpacking gear!
Like your clothing you’ll want to have them organized. The best way to do this is keep like boots together: warm weather hiking boots, mountaineering boots, snow boots, water shoes, etc.
This will make it easier to find what you’re looking for.
You may also wish to keep them outside of a box so they’ll be able to ‘breathe’ which is necessary so the interiors do not develop mold. Also, do not stack them on top of each other – forceful pressure can disfigure your boots, making uncomfortable impressions and divots.

Sleeping Bag
Washing:
Let me tell you, whether you have a down, synthetic or blended sleeping bag, after a full backpacking season those things smell rank!
Of course, washing a sleeping bag can be stressful. Not only are sleeping bags expensive but they’re essential in keeping you warm and comfortable at night, allowing you to sleep better.
There are 3 big No-No’s when washing your bag:
- Do not use bleach or softeners as they can destroy the insulation material.
- Do not use a top load washer, or washer that’s too small.
- Do not dry cleaned unless it’s done by a sleeping bag professional.
Thankfully, Mike Jones of CampingGearFit.com has a wonderful, easy-to-use guide on how to wash and dry your down sleeping bag. Mike gives you all the ins and outs of what & what not to do, as well as who you can go to for professional cleaning.
While his guide focuses on down-filled bags, you can also use his guide for a synthetic bag too!
By taking care of your gear, your sleeping bag should last for years.
Storing:
There are two schools of thought for storing your sleeping bag during the off season:
- Hanging them (over a hanger or similar)
- Rolling them into a stuff sack
Personally, I don’t have room to hang my sleeping bags so I use the stuff sack they were purchased in or I buy a large, mesh laundry bag like this one.
If you use the stuff sack, do not compress it. Make sure your sleeping bag has room inside the stuff sack so that it can breathe.
Whichever your choose, you will want to store your clean bag somewhere it’ll not be squished, moist or scratched up. Also keep them away from UV light (like the sun) and heat, these both can easily destroy the bag.
Related: 10 Essentials For Hiking & Backpacking

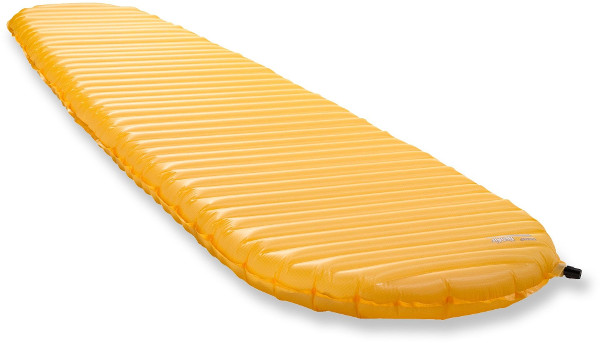
Sleeping Pad
Washing:
While washing your sleeping bag sounds like a no-brainer, you’d be surprised that most backpackers also recommend washing your sleeping pad as well.
This was one thing I actually didn’t think about until I started writing down items for this blog post as it’s not an item I’d suspect would get dirty.
Pro-Tip: Don’t let chemicals like DEET and sunscreen get onto your sleeping pad. These chemicals will damage the synthetic materials very quickly
So on my latest trip I took a good look at my pad and, lo’ and behold, there was the beginnings of mold!
I nipped that one in the butt real fast.
I was thrilled to discover that gentle soap and water was all that’s needed. Just dip a soft cloth into soapy water, run down the whole of your sleeping pad and mop up with another dry, soft cloth. For tougher spots you can use an all purpose cleaner, just make sure it doesn’t have ammonia in it.
Let the pad fully air dry. Keep the valve open during the drying process and when storing.
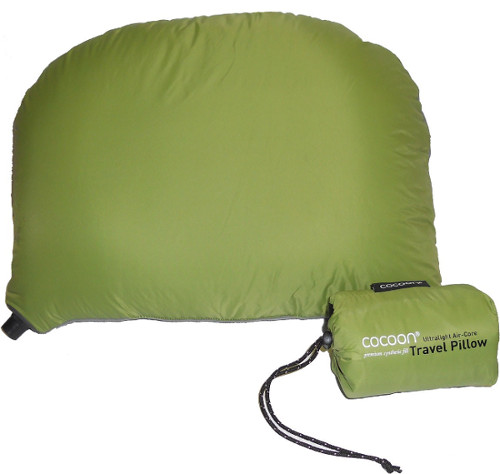
Pro-Tip: Sleeping bag liners are a great way to extend the life of your sleeping bag. Liners help to keep body oils and dirt off your bag and can add an extra few degrees, making your bag even more cozy!
Storing:
The best way you can store your sleeping pad is by leaving it unraveled on a flat surface. This works best if you have a self-inflating pad.
But if you’re like me, you don’t live in a mansion so space is pretty hard to come by.
That leaves me with two ways to store my pad, either inside it’s stuff sack (more pads come with one) or hang it.
Some backpackers scoff at the idea of leaving their pads inside the stuff sack.
I actually believe it’s okay so long as you don’t fold your pad the same way after each use. Folding the pad the same way each time can cause the material to weaken at those creases.
If using the stuff sacks worries you, install a hook or peg to a wall to hang the pad. Those with form or self-inflating pads might have issues with this so they don’t drape easily. If you have an air-filled pad, just leave the valve open and drape over a hanger.
Pro-Tip: The material for your pad is thin and can be easily punctured. To prevent this, never place your sleeping pad directly on the ground. Always have something underneath like a tarp or blanket. Also, never carry your pad on the outside of your backpack.

Water Filter
Washing:
Unfortunately cleaning your water filter is a little more involved than just letting it dry – although I usually only clean it once a year and just let it air-dry after each trip.
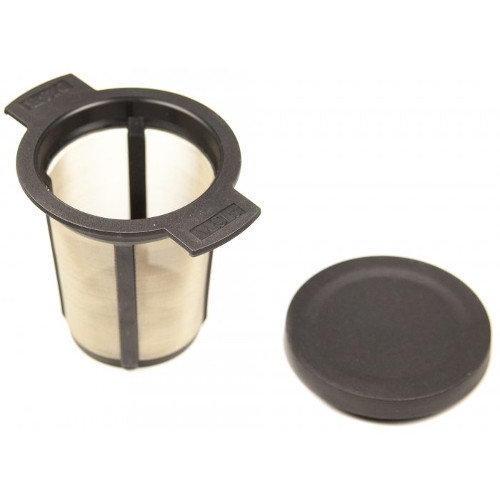
Check the manufacturer’s instructions but for most water filters, cleaning the filter or cartridge with a few cups of water and a tablespoon of bleach should work fine.
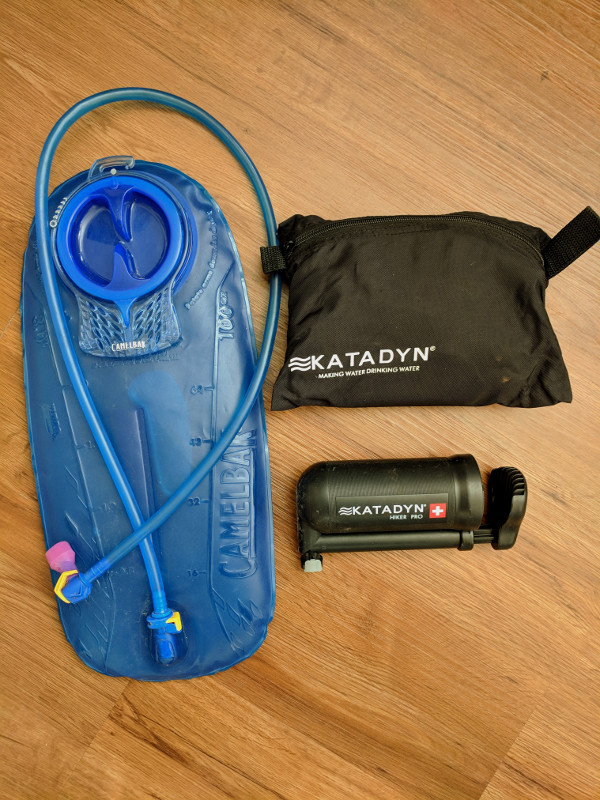
If your filter works sluggishly or you notice build-up, you can use a baby toothbrush to gently remove particles. If you have the Katadyn Hiker water filter, you will need to remove the plastic ‘cage’ and protective film in order to clean the cartridge but it’s easy.
When finished, leave everything out separately to fully dry.
Storing:
Storing your water filter is easier than you think. If you’ve taken the filter apart to let it fully dry, reassemble it and store.
To store, all you need is one gallon size ziploc bag and two smaller ziploc bags. Label the smaller bags with ‘clean’, the other ‘dirty’, and place the corresponding hoses into each bag.
You never want the hoses to touch since that can cause cross contamination and allow for viruses to get into your drinking water.
Put the smaller bags into the gallon size ziploc along with your filter and you’re done. Easy-peasy, lemon-squeezy!
Related:The Ultimate List of Backpacking Luxuries

Bladder
Washing:
You’d think water bladders wouldn’t get dirty because they hold, well, water. Water creates moisture and moisture breeds mold which will not only make your water taste horrible but can also make you sick.
Getting sick in the backcountry is a big No-No!
If you find film or dark spots on your bladder or hose, you will need to run diluted bleach through both to get rid of the mold. The best way to do this is with hot water and a tablespoon or two of bleach.
Pour the hot (not scalding) bleach water into your bladder, close it up. Hold the bladder above you so that the tube and bite valve hand down. Squeezing the bite valve will release the bleach water through the tube. You may need to do this multiple times depending on how dirty the bladder and tube are.
Once you’re satisfied, run clean, cold water through the bladder and tube so no bleach taste lingers.
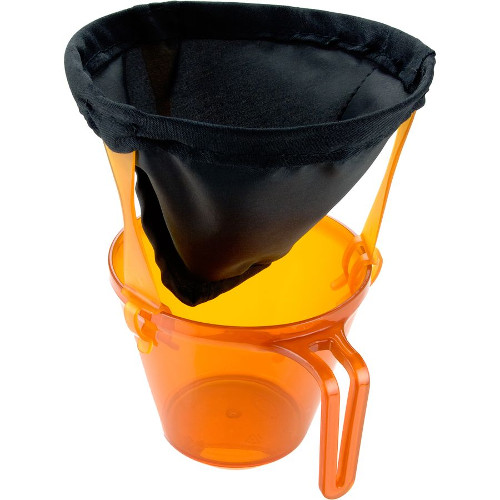
For general cleanings, a little dish soap is all that’s needed. You can see how it’s done in this very helpful CamelBak video.
Pro-Tip: Dry your bladder upside-down so that water doesn’t pool at the bottom.
Storing:
Before storing, check the creases of your bladder to make sure it’s fully dried – a wet/damp water bladder can hide mold. Do not store with the lids tightened.
Keep your bladders in an area that’s not cool and dry.
Some people store theirs in the freezer but I usually keep mine in our garage (we live in a moderate, dry climate) or in a kitchen cabinet.
Store the water tubes separately or packed inside the bladder.

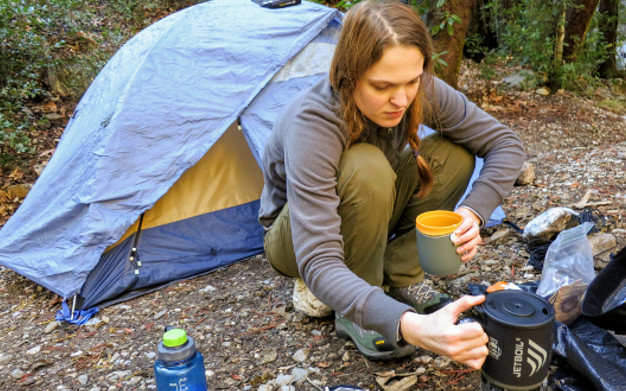
Tent
Washing:
Tents are pretty tough and can handle normal wear and tear but after a while will need some cleaning. This is especially true if your trips typically involve rain or snow; mold and mildew becomes an issue.
For general care, you can get away with shaking out the rainfly and tent. Spot clean where necessary.
If your tent becomes muddy or takes on just a little mold, a gentle, non-fragrant soap and sponge will work.
If mold has become a problem, or the tent begins to smell, you will need to use a solution like Nikwax Tech Wash or Granger’s Outdoor Cleaner. Just be sure to use according to instructions.
Never put your tent through the washer machine!
Storing:
Most people store their tents in the tent bag or sack it came in. For the most part, that’s okay!
However, if you live in an area that experiences humidity, you might want to forego that.
Opt instead for a pillow case and loosely store the tent parts inside, separated. This will allow air flow to seep in and help avoid moisture which can cause mildew and mold.
If you live in a drier area, like I do, the tent bag or sack is fine. Just be sure to have items loose inside.
Pro-Tip: Don’t aggressively stuff your tent back into the sack as it can lead to ripping and tears. Instead, squeeze air out of your rainfly and soft tent as much as possible before placing it in the sack. It will expand afterwards and that’s perfectly okay.
Related: 10 Essentials For Hiking & Backpacking

Backpack
Washing:
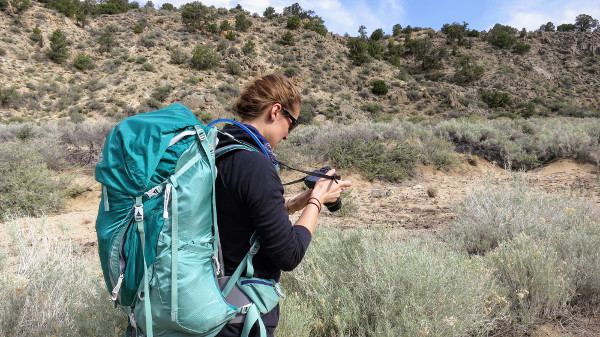
You carry it on your sweaty back, it carries everything and it’s basically what protects all the necessities you need to survive outdoors. Your pack.
Eventually, your pack will get dirty and worn, whether that’s over time or because you set it down in mud. On accident, of course!
If you do by chance set it down in mud, or it just gets dirty in general, cleaning it is pretty easy. Your trusted gentle non-fragrant soap and sponge will easily take care of mud, dirt and abrasions.
If your bag of trail mix melts inside your pack and now you have chocolate smeared across the bottom, again, the sponge is your best friend. Just remember not to use soap inside and gently clean the interior with just water.
Storing:
If you have the room for it, you should store your bag vertically on a wall. This ensures your bag’s internal frame doesn’t become disfigured.
To do this, you will need either a hook, like these metal cup hooks, or several large command hooks.
The metal hooks are certainly more permanent (and stronger) but if you’re in a rental or apartment, the command hooks work well – they’ve held my 56 liter Gregory bag for a full two years without loosening.
If you use the metal hooks, make sure to find the stud first before you drill into the wall. The wall will need to be able to hold approximately 10 lbs so finding the stud helps.
I also love hanging mine so they look organized and stay clean.
If you don’t have the space to hang them, you will need to lay them flat, without heavy items on top. If you have more than one bag you can certainly stack them – just make sure they’re flat so the frames don’t bend.
And there you have it! Doesn’t sounds so hard, does it? 🙂
If you have any suggestions or comments on how you keep your gear clean and organized, feel free to leave a comment down below!
No Comments on The Ultimate Care Guide for Your Backpacking Gear