We were barely a mile into our backpacking trip down Grandview Trail in the Grand Canyon when I decided to take a break. First thing I grabbed was several Starburst…
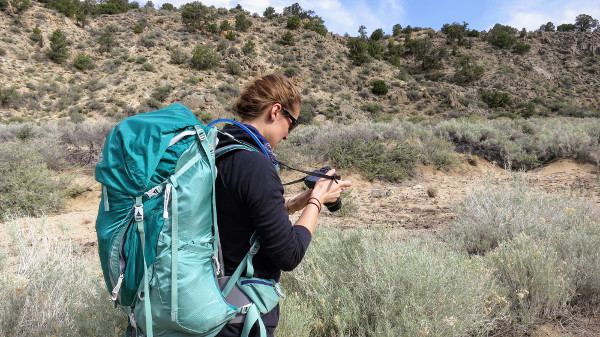
We were barely a mile into our backpacking trip down Grandview Trail in the Grand Canyon when I decided to take a break.
First thing I grabbed was several Starburst I had conveniently tucked away in my hip belt, the other was my phone. You cannot backpack, or even visit, the Grand Canyon without taking hundreds of pictures – the canyon is absolutely breath-taking.
I noticed others were grabbing their phones & cameras too. One took the opportunity to snack on sugary trail mix.
Whatever it is, we all have that luxury we bring on all backpacking trips. It’s usually that one (or two!) thing that makes the trip a little more comfortable.
I’m pretty weight conscious, trying to min/max my bag by making items work double duty, but even I cannot pass up on a few of the below Backpacker Luxuries.
The Ultimate List of Backpacking Luxuries
Attention: My post may contain Amazon affiliate links! As an Amazon Associate I earn from qualifying purchases.
Inflatable Pillow
I don’t necessarily find this to be a luxury, more like necessity really. Have you tried sleeping without a pillow? Kinda sucks. I’m a light sleeper at home so whatever I can do to help myself sleep better in my tent is a huge deal.
If you’re going ultra-lite you can carry a light pillow case and stuff your clothing inside, if you want luxury, check out camping or travel pillows!
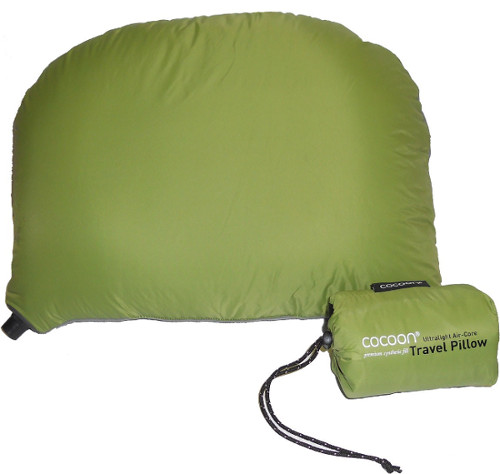
I used to use a Therm-a-Rest compressible pillow which is super comfy but a little bulky in my pack. It’s a great pillow for car camping but I tend to take a normal bed pillow instead since weight isn’t an issue there. Still, for the money, it’s pretty good!
I recently upgraded to the Cocoon Sleeping pillow which is inflatable and nestles right into the hood of my mummy bag (doesn’t move around at night!). It’s just a few ounces and packs away into a small stuff sack about the size of a tennis ball. I love that I can choose whether I want my pillow to be firmer or softer and it’s pretty easy to squeeze it into a small area of my bag.
Related: 10 Essentials for Hiking and Backpacking
Camping Sandals
After a long day of trekking, it can be a huge relief to get your boots off and let your toes breathe & dry.
Most of us don’t think about it but there’s a ton of moisture in your boots! By letting your feet breathe while camped you are letting both your skin and boots dry so that they’re ready for the next day.
Those suckers have been working hard so treat them right!
Not only should you be allowing your feet to relax, and recoup, you will also want to make time to properly care for them by assessing blisters, reapplying bandages (if necessary), massaging the muscles and letting them dry.
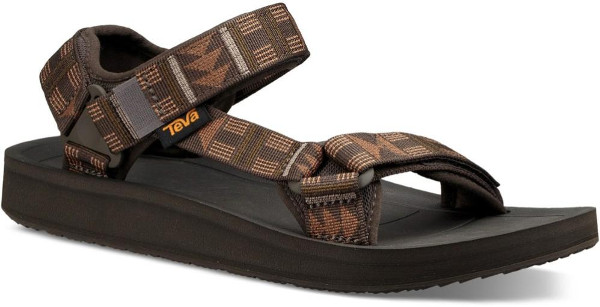
This is where camping sandals come in handy.
While you’re walking around your campsite, setting up your tent, filtering water or just relaxing, wear comfortable shoes like Crocs, Teva sandals or cheap flip-flops.
If you’re sticking to an ultralite trip at least take your boots and socks off while eating or hanging out in your tent.
Thicker Sleeping Pad
There are tons of different sleeping pads out on the market today ranging from ultralite to luxurious. You will find pads that are air-filled to thick foam, 1”- 4.5”+ in thickness, pads that fold into the size of a small log and pads that compress down to the size of a melon (See more details here). Your options are endless!
Keep in mind, a sleeping pad helps with two things:
- insulating you from the rocky, cold ground
- padding for restful sleep
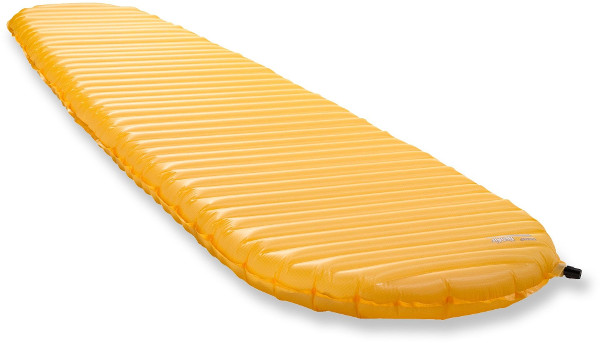
Since I’m a stickler for weight but didn’t want to give up on comfort I grabbed the Therm-a-Rest NeoAir XLite SV pad which, if set up properly (see video), is pretty darn comfortable. Whichever brand or style you purchase make sure you’re 100% confident in how to set it up – nothing is worse than having your pad deflate the night because you didn’t inflate it correctly.
A good night’s sleep can really set you up for success on the trail the next day. Check out this post from Backpacker Magazine on getting the best sleep in the backcountry.
Lite Folding Camp Chair
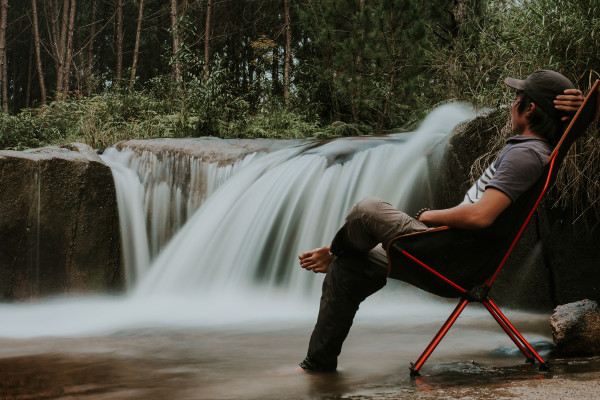
This is a real luxury and seems to be one of the top things backpacker splurge on, weight-wise, in the backcountry. And while I don’t carry one myself, after a long day it would be amazing to have a comfy chair to plop into.
There are a lot of backpacking chairs out there so look for one that’s light (2lbs or less), packs down small and has great reviews.
I haven’t tried it before but I’ve heard great things about REI’s Flexlite Chair – that would be a great place to start!
Tent Lamp/Lantern
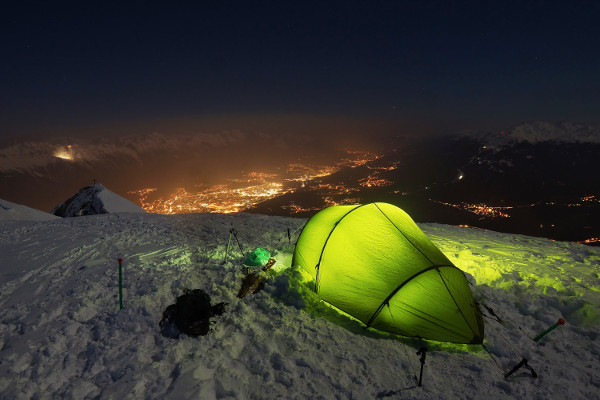
As silly as it sounds, I love taking a small tent lamp with me. You might be thinking “I have a headlamp, why bring one specifically for the tent?”
Headlamps are great but they’re one-directional which works when you’re trekking through the dark or need just a little light. But when you’re tucking into your tent for the night it’s nice having a small lamp that’s omni-directional, allowing the light to spread out in all directions.
This really helps if there are two people sharing a tent, especially when you both are trying to change or set up your bedding. At the same time.
I also love hanging the lamp from a bush or tree – this allows the entire campsite to have enough light for cooking or hanging out.

Personally I use a Black Diamond Moji lantern or my solar powered Luci Inflatable lantern. The Moji lantern is small, robust and I love that it has two metal hooks so I can hang it. It’s also dimmable. Downside: uses batteries. My Luci was given to me as a gift and I’ve been delighted with it! It’s super light, comes with very bright LEDs and is solar powered. Downside: it doesn’t dim although Luci has apparently come out with newer versions that do.
Baby Wipes or Facial Wipes
Part of me wants to say this is lux, part disagrees and believes it’s necessary for hygiene. Either way, it’s completely refreshing to use baby or body wipes to clean off before getting into your sleeping bag for the night.
Imagine all the dried sweat and dirt on your body. Not to mention the unspeakable bacteria going on…down below. By drying baby wipes out beforehand and reconstituting them with just a touch of water, you could reduce the amount of germs & bacteria that hang out on your body, clothing and sleeping bag.
It also helps reduce the smell. Believe me.
Solar Panel with Charging Station
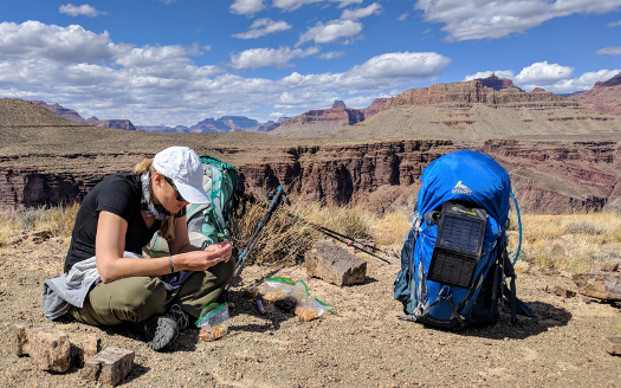
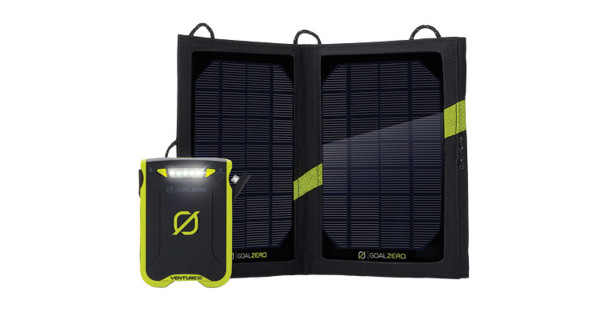
In today’s world, it’s very difficult to fully remove yourself from technology especially if you use your cell phone as a camera or GPS/map. And while you can call out all the great things about cell phones, it is still tech that requires constant charging or battery changes.
Thankfully there is a large market for solar panels and rechargeable batteries.
Alex and I carry a GoalZero Venture Power Bank and some extra cell phone cords. This little beauty is great! You can hang the solar panel off your pack so it charges as you hike. It can also charge about 3 cell phones so big plus if you’re backpacking with a group.
Hammock
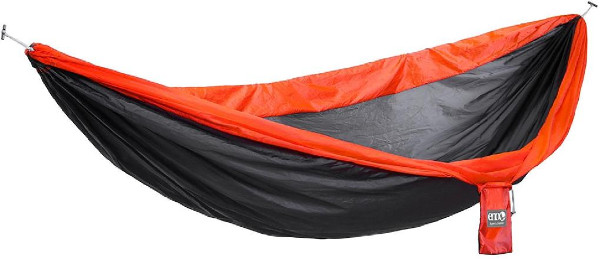
This is my Alex’s ultimate luxury as it’s brought on every backpacking and camping trip. There is a vast array of these suckers; from individual to 2 person hammocks, ultralite to backpacking hammock sets.
My favorite brands is Eno. There are tons of different models so take your time and choose the one best for you.
If you want to use a hammock on your next backcountry trip, make sure to set it up at home first. Like most things with backpacking and camping, it takes some practice. Hammock camping can also take some getting used to since you don’t sleep in one the same way as you do in a traditional tent. Try it out in your backyard or during camping trip and see what you think first.
DSLR or Point and Shoot Cameras
A camera is a wonderful thing to bring to capture the scenery and moments with those you’re trekking with. I love being able to take photos so later I can reminisce on what a fantastic trip we had.
Besides the camera on your phone, you usually have two snap-happy options: DSLR or a Point and Shoot.
Digital Single-Lens Reflex (DSLR)
DSLR cameras produce high quality, professional photos. They have a ton of extra features that allow you to shoot in any lighting or situation. You can also change the lenses out to narrow or widen your field of view.
One con is that they can be pretty heavy (not to mention expensive). For just a DSLR camera body, the weight range is anywhere from just under 1 pound, up to 3 pounds. Add in multiple lenses and you’re looking at some pretty significant heft to your gear.
Point and Shoot Cameras
These cameras are definitely cheaper and smaller than the professional DSLR but they’ve certainly come a long way in the last few years.
More and more models are boasting built-in WiFi capabilities, expanded panorama modes and 4k video recording. They’re also coming in around 7-12 oz which you really can’t beat.
Personally, I use my smartphone. The camera quality is pretty good and it’s the lightest thing I can bring with me but you can’t go wrong with a good camera.
Journal or Sketchbook, Pens

Documenting your trip is a great way to capture emotional memories and trail details. Consider picking up a Moleskin journal – they’re light, flexible and come in a variety of styles from college lined to blank sketchbooks. They also very in size depending on your needs. I carry one everywhere.
To save weight, check out apps like Google Keep or Everynote for long form or bulletpoint note taking.
Chocolate
I definitely carry this with me on every trip. There’s nothing like having a little pick-me-up on the trail or for dessert. Look for your favorite kind or try a new brand. Since you’ll be burning calories while hiking, chocolate, in my book, is a guilt-free trail treat!
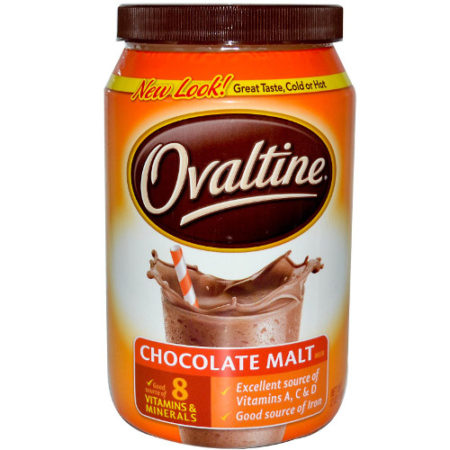
If you’re hiking in hotter weather, you might want to leave the chocolate bar at home. Instead, opt for hot chocolate or mix Ovaltine & powdered milk with cold water for delicious chocolate milk.
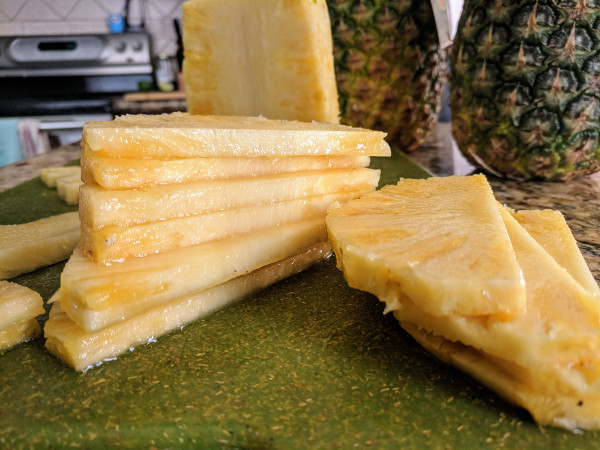
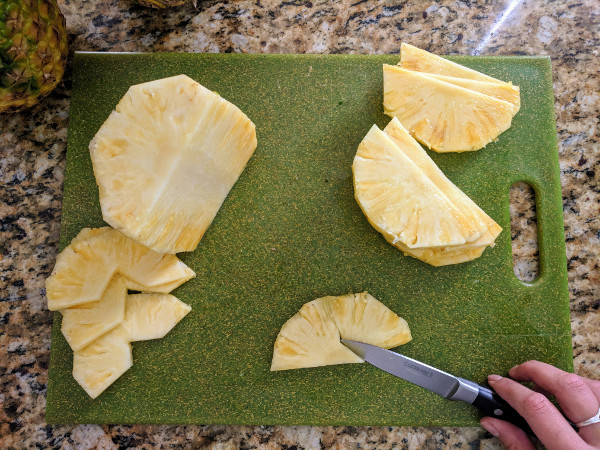
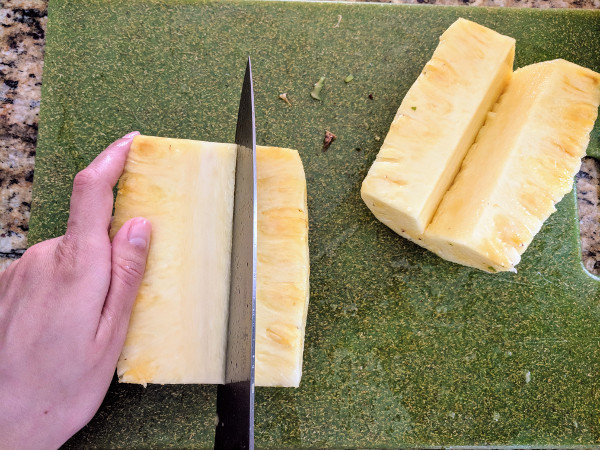
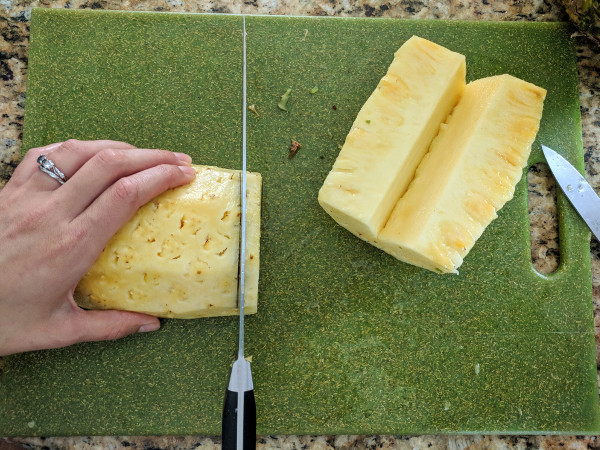
Fresh Fruit or Ingredients for a Meal

My husband’s grandfather used to take boy scout groups out backpacking and for the first night he’d cook with fresh ingredients over the fire. Not instant stuff like oatmeal or dehydrated meals, but real food like steak, sausage, even a hearty breakfast. At least on the first day.
You can do this to so long as you plan it right. Items like dried meats and cheese do pretty well, same with harder fruits like oranges and apples.
If you’re looking to create a meal, try picking up your ingredients just before you hit the trailhead – this way they are fresh and, if you’re taking meat, they’ll at least stay pretty cool (depending on your environment, of course).
This usually is a ‘first night’ thing but, hey, the weight is sometimes worth it for a gorgeous view and a killer meal.
Lux Coffees Filters or Via Packets
We all have that friend who is a true coffee connoisseur. They’re the one person who absolutely, without a doubt, cannot go a morning without a good cup of Joe. And of course, it can’t be made just any plain ol’ way. Oh, no.
There are filters, mini espresso machines, even DIY hacks on how to create the perfect cup of backcountry coffee. So here are few of the favorites:
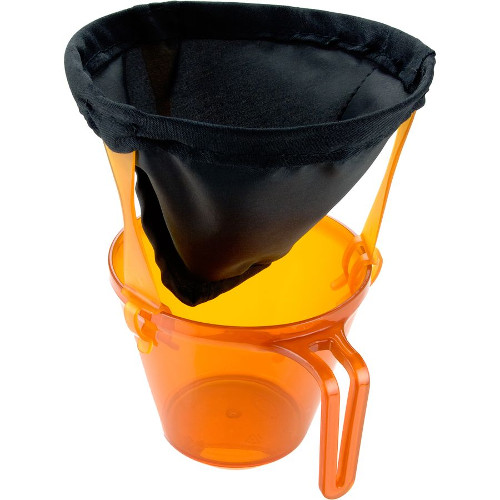
GSI’s Outdoors Java Drip coffee maker stands out among backpackers as an awesome, lightweight version to your standard drip coffee. It’s fast, clean and folds into itself for easy storage in your pack.
This means you won’t have to deal with awkwardly shoving it into your pack. Or, in my case, looking for small items to shove into it so you can condense bulk.
The low price point helps as well.
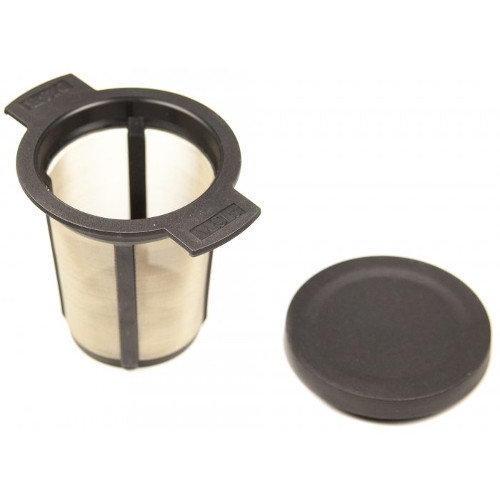
Another option is the MSR MugMate which fits in most backpacking mugs/cups. This one is a little more expensive but seems to be quite a favorite since it’s small and almost weightless. It doesn’t pack down like the Java Drip but seems to be a great alternative.
Both the Java Drip and the MugMate only make enough for one cup – so bring extra grounds if you want seconds.
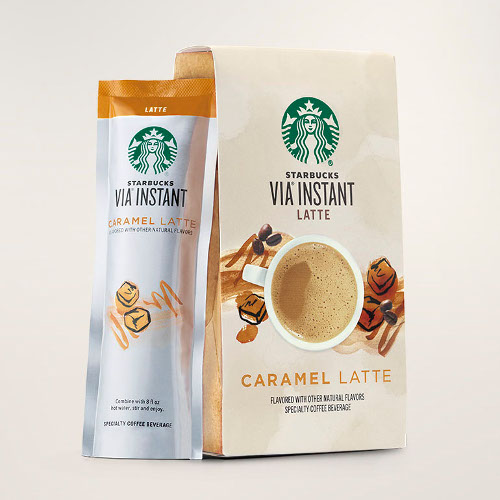
I usually bring Starbucks Via packets which are lightweight, single serve and don’t require any clean up. Just toss into your mug with hot water and you’re good to go. It’s not the best tasting coffee, mind you, but it’s decent and still kick starts your day with caffeine.
If you’re budget conscious, try filling a small coffee filter with 2-3oz of you favorite coffee ground. Twist the top closed and secure with dental floss. Toss into your cup with 6oz of hot water and seep, just like a tea bag. When it’s seeped about 2-3 mins, take the bag out. Enjoy.
Pro-tip: Get unflavored dental floss, unless you’re into mint flavored coffee. I won’t judge you if you are.
Flask with Favorite Alcohol or Wine
Alex and I always bring a flask of whiskey when we’re on backpacking trips. It’s definitely one of our favorite luxuries. It’s great to have after dinner, goes well with hot chocolate and provides warmth, not to mention it’ll block pain receptors so that sore back feels some relief.
So grab a flask, add your favorite adult beverage and enjoy! Just remember to be responsible.
Wine is also another luxury drink you can bring and there are some really good box wines out there. Laugh all you want but it’s true. Because of the surge in millennials becoming affluent wine drinks, the wine industry as changed the way wine is presented, including taking their best vintages and boxing them.
For camping, this is extremely convenient. For backpacking, you could take the bladder out of the box and carry it like normal.
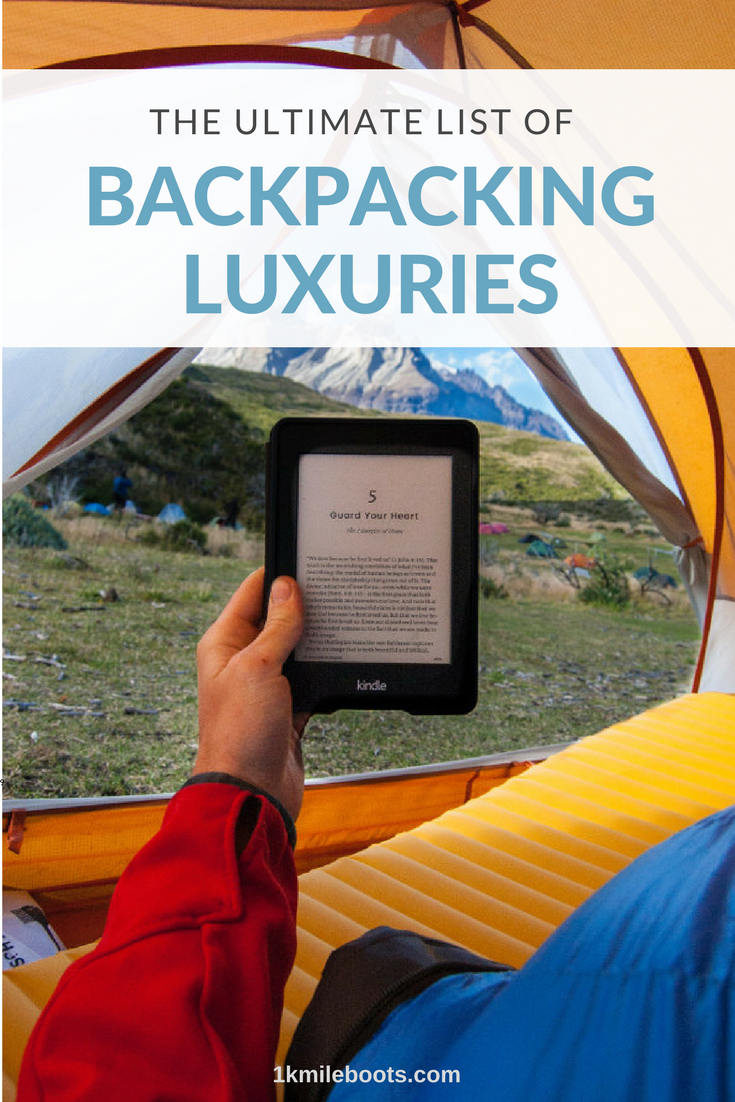
Book or Kindle
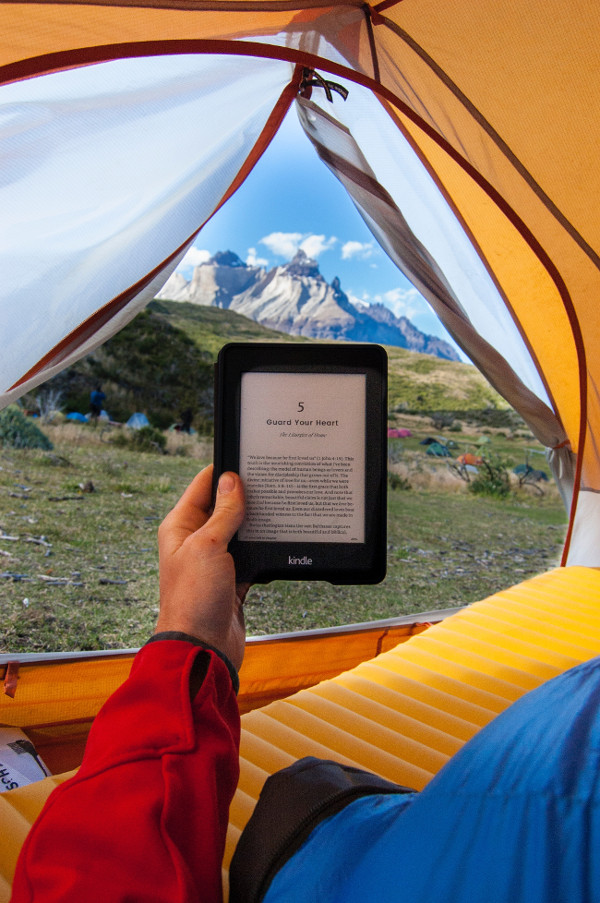
If you’re a bookworm then bringing a book into the backcountry just seems natural. For those who are weight conscious, this can be a real luxury.
If you’re considering trekking some literature out into the wilderness, I recommend sticking to either thin paperbacks or an e-reader. Hardcovers are way too heavy.
E-readers like Kindle’s Fire HD are best. If you finish a book halfway through your trip, you have the rest of your digital library with you! These are especially useful if foul weather has you hunkered down or your trails mates have already turned in for the night.
If you don’t want to carry the extra load, you can always add e-books to your phone using the Kindle application (for Android or Apple), or the equivalent.
Pro-tip: Make sure to download the book(s) you wish to read before hitting the trailhead – WiFi doesn’t usually exist in the backcountry.
Related: 10 Essentials for Hiking and Backpacking
So there you have it! All the luxury items backpackers take with them to make the backcountry just a little bit easier.
And while this is a pretty detailed list, there are tons of items you can take with you to make your trip easier. These items are also tailored by each person depending on their likes/dislikes, as well as the trip they’re taking.
So get out there and take a luxury item or two with you. You’ll be surprised at how it can improve your trip!
Got a favorite backpacking item you just have on the trail? Perhaps it’s something not listed here? Leave a comment below and let us know what you’d bring on your trip.
No Comments on The Ultimate List of Backpacking Luxuries