When I began planning my trip to Amsterdam I dove into Pinterest like a mad woman. I wanted to check out everything is wonderful Dutch city had to offer: the…
When I began planning my trip to Amsterdam I dove into Pinterest like a mad woman.
I wanted to check out everything is wonderful Dutch city had to offer: the food, museums, the canals, the red light district, everything.
One thing I noticed that kept popping up was the Rijksmuseum. And while the Rijksmuseum is incredibly famous I knew I was looking for more than Amsterdam’s large, most visited museum.
I wanted something more manageable for my first trip – where I wouldn’t feel rushed. Bottom line, I didn’t want one attraction to fill up my entire day. This was a mistake I’ve made in the past and wasn’t willing to repeat it.
Though I adore museums, I figured I’d check out some of the lesser visited places and come back to the Rijksmuseum later if I still wanted to.
Boy, did I find enough to occupy my time!
There are thousands of places to go to in Amsterdam – places I wouldn’t have even thought to visit much less had the time if I had spent it all at the Rijksmuseum.
So check out below for my list of:
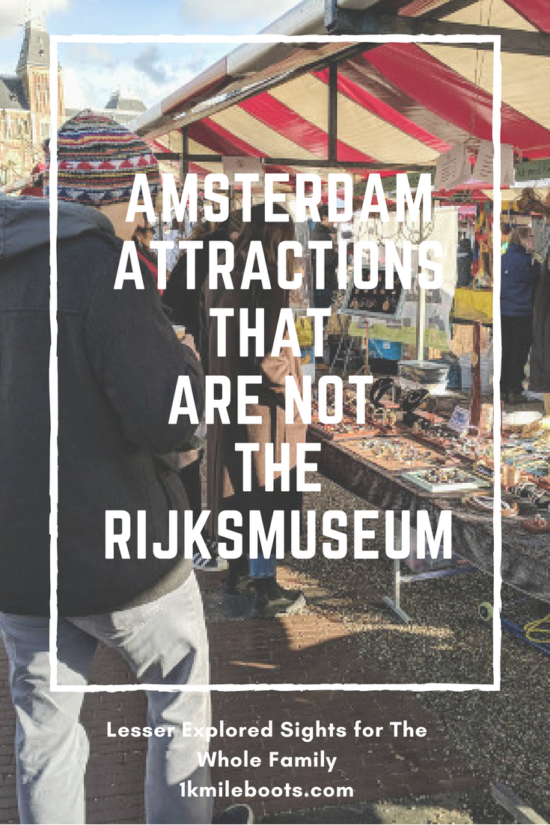
Amsterdam Attractions That are Not the Rijksmuseum
Attention: My post may contain affiliate links!
Museums:
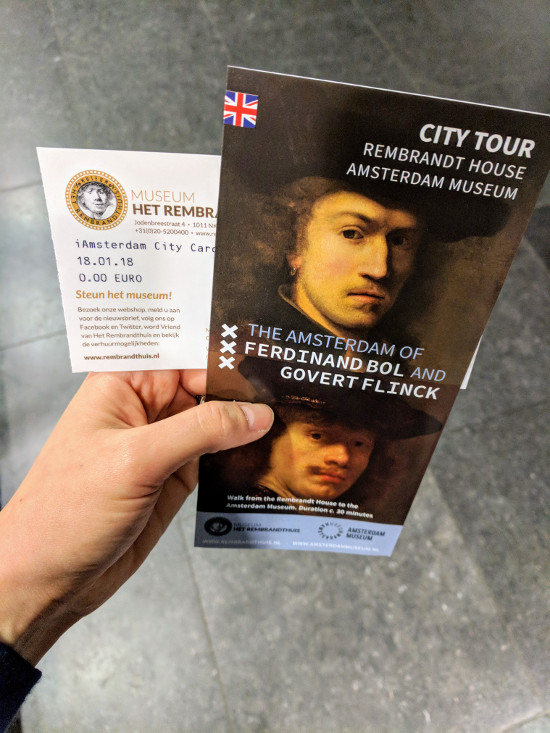
Rembrandt House Museum
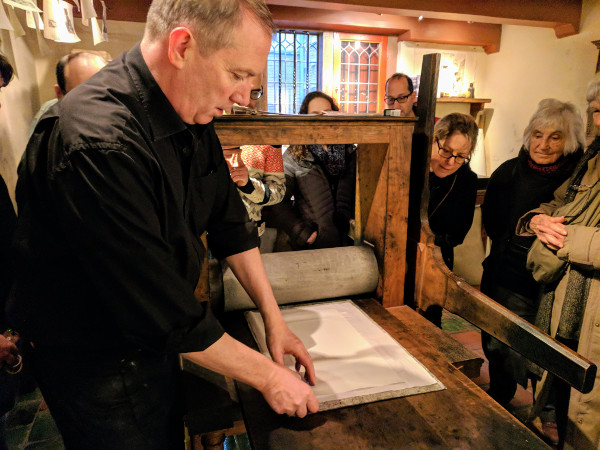
Demonstration of Rembrandt’s Printing Press
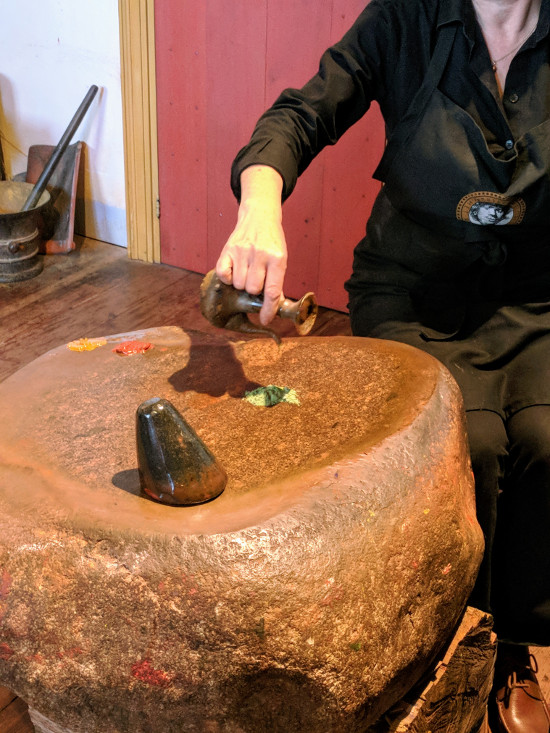
Demonstration of 17th Century Paint Making
Rembrandt House Museum
As a child my dad would take me to the museums in Washington, D.C. and we’d spend hours staring at remarkable works from the greatest masters. Rembrandt was, and still is, one of my dad’s favorite artists. So I grew to love Rembrandt’s rough sketches and self-portraits, remembering him as ‘the funny man’ who made faces in his drawings.
When I saw that his former home was made into a museum, I jumped at the chance to go.
The house itself is rather large by 1600s Amsterdam standards and hasn’t been changed much since Rembrandt lived and worked there.
The museum restored the house to its former glory giving us a look into the extravagant life Rembrandt led.
Unfortunately, in the 1650s the artist became bankrupt and moved, selling off a good deal of his rare collection of art & sketches, statues, animal bones and more, to pay for the debt he owed. Keep this in mind while wandering around.
Besides the artwork, most everything you see in the house is a replica of what would have been there. Pretty good looking replicas, I should say.
Normally a ticket would cost you €13 but if you purchase a IAmsterdam card ahead of time, which I highly recommend, entry is free.
The ticket includes an audio tour & access to all rooms, including demonstrations. Demonstrations happen daily are usually of Rembrandt’s printing press and how Rembrandt would have made his own paints. I recommend checking both out – they’re fascinating!
There’s a small gift show on the first floor and a free coat room (first come, first served). There’s no food or cafe in the museum so you might want to eat before or afterwards. The tour should only take about 1-2 hours depending on demonstration schedule.
All in all, I believe the Rembrandt House Museum is a great stop in Amsterdam! Certainly awesome for Rembrandt fans and those interested in seeing the inside of a 17th century Dutch home.
Related: The Most Important To-Do List Before Your International Flight

Van Gogh Museum
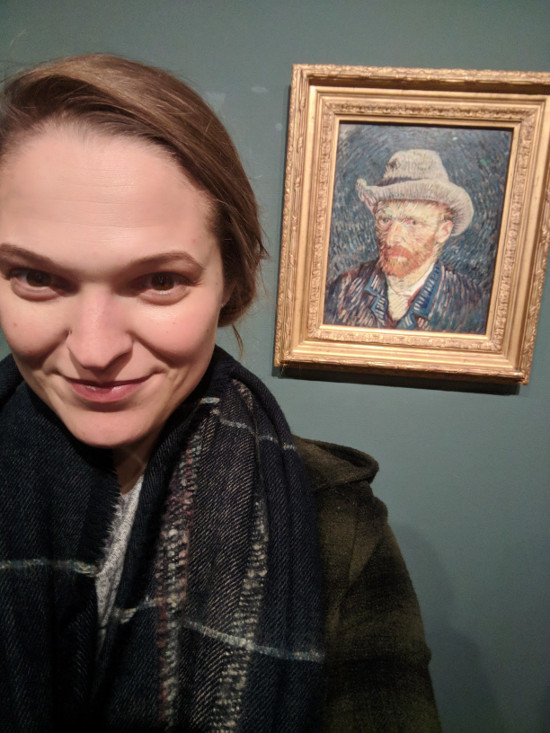
Selfie with Van Gogh Self Portrait
Van Gogh Museum
I don’t remember exactly how old I was when I first set my eyes on Van Gogh’s The Starry Night painting but I instantly fell in love with the short, thick painted brush strokes. To me, it seemed like Van Gogh added movement to his paintings – as if the wind would blow the tall, dark trees at any moment.
So when I saw my opportunity to check out the Van Gogh Museum, I immediately booked my tickets.
Pro-tip: Book these tickets in advance as they sell out quickly and the museum gets crowded.
The museum is set up in a way that you will want to begin on the first floor and work your way up. Each exhibit follows the life and career of the Dutch artist beginning from his childhood, to his death in 1890.
I learned so much more about Van Gogh than I thought possible here: what drove his work, his family life and how other artist’s work inspired his own. It was also amazing to see his extensive Japanese art collection which I never knew he was into.
While you’re wandering around each floor take note of how Van Gogh was ‘playing’ with different artistic forms. He seemed to gravitate towards a few post-impressionistic styles which really made his work stand out.
While wandering around, don’t forget to take a photo at the Selfie Walls which were scattered around the museum when I visited. Since you cannot take photos in most exhibition halls, these are great spots to get those much desired selfies.
Like I said earlier, you will want to get your tickets in advance. They’re €18 unless you have (drum roll please!) the IAmsterdam card and then it’s free. Just reserve your ticket time online and enter your IAmsterdam card number.
The museum also boasts a gift shop where you a pick up a souvenir and a small cafe. There’s also a coat-check on the bottom level but get there early since lines form.
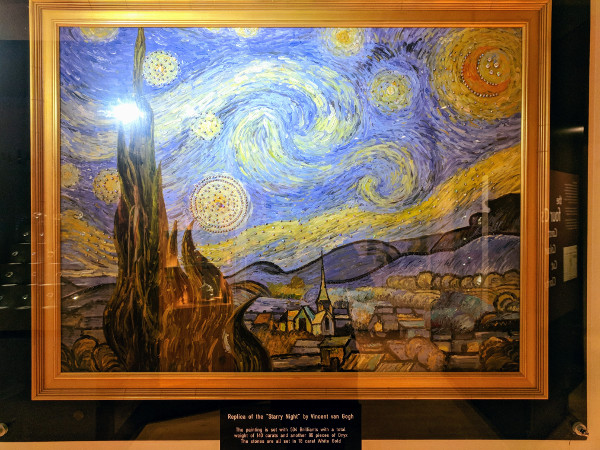
Replica of Van Gogh’s Starry Night – This one has hundreds of diamonds embedded in the canvas!
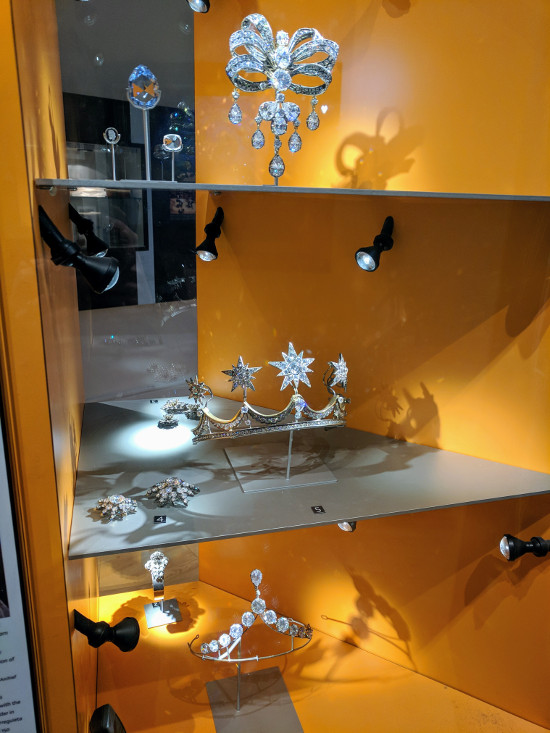
Replicas of Royal Jewelry
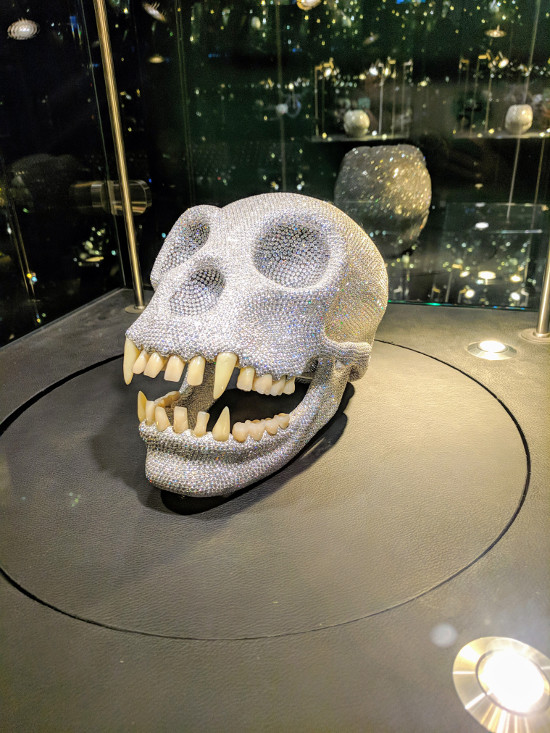
Diamond Encrusted Skull – Worth Seeing!
Diamond Museum
I’m not always a girly-girl but when I am there’s usually glittering jewelry somewhere nearby. So a stop at the Diamond Museum was an absolute must.
Situated close to the Rijkmuseum and Van Gogh Museum, the museum is encased in a beautiful, three story, brick Dutch home just behind Coster Watches. Don’t forget to check out Coster Diamonds just a few doors down to see real diamonds on display. Always worth a look!
The Diamond Museum is every diamond lover’s fantasy.
The museum provides you with detailed information on the natural creation of diamonds, the diamond trade and how diamonds are used today. The museum doesn’t skimp on the the diamond trade history, they’ll show you the good, the bad and the ugly.
Another area of the museum that’s pretty enjoyable is the showcase of royal jewelry. It’s fun to image wearing such pieces – although I’d be terrified I would lose a diamond or I’d get robbed.
Please note that all of the pieces insides the museum are replicas of real items.
The museum is pretty small so it should only take about an hour to see everything. Make sure to either purchase your tickets ahead of time, they’re €10, or grab them for free with your IAmsterdam card (again, I highly recommend this!).
One more thing: don’t forget to check out the diamond encrusted skull near the end of the tour. It’s kind of over-the-top but still worth checking out.
Related: Long-Haul Flight Survival List
Non-Museum Attractions:
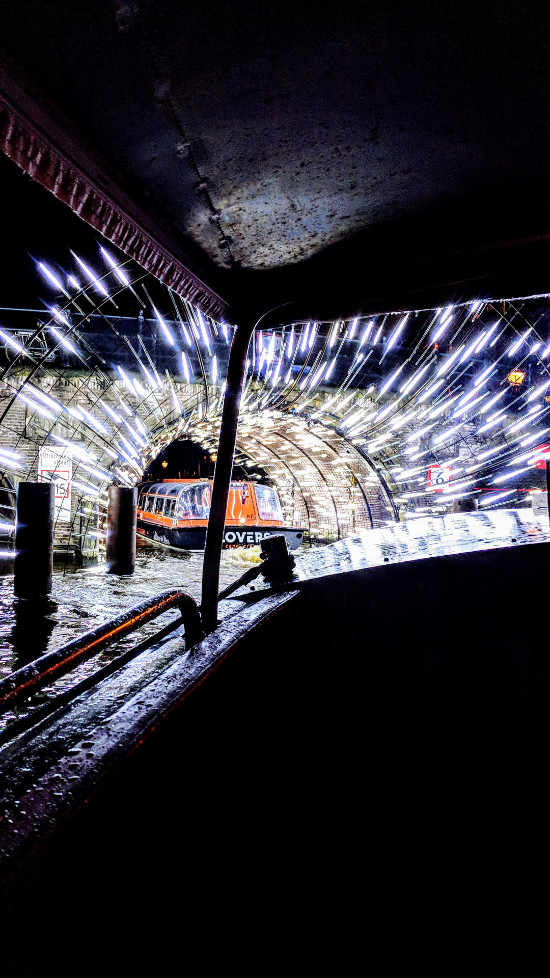
Nighttime Canal Tour to See the Lights Festival
Canal Ride
You really cannot complete your trip without a ride through Amsterdam’s famous canals. It is quintessential to a full Amsterdam experience!
While there are tons of canal tour companies to go with the highly recommended ones are Lovers Canal Cruise and Blue Boat Canal Tours. I believe you can get a free ticket with both with your IAmsterdam card but restrictions may apply.
Most canal tours are 60-75 minutes but you can find some that are several hours and include food, drinks or entertainment.
Personally, I went for one of the smaller canal tours since I wanted to see more of the city, especially since I went during the Light Festival (January).
The Light Festival happens every winter where artists create giant light installations all around the city. You can view most of these from the canal so if you’re going in January, definitely book a night canal tour to catch these awesome displays!
Without an IAmsterdam Card, a canal trip can range anywhere from $20-$60+ USD.

Inside the Bird & Mammal Hot House
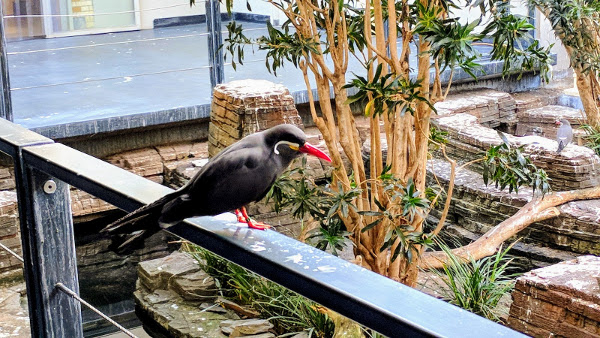
Unfortunately I don’t remember the type of bird this was but it was beautiful! They’d come right up to you!
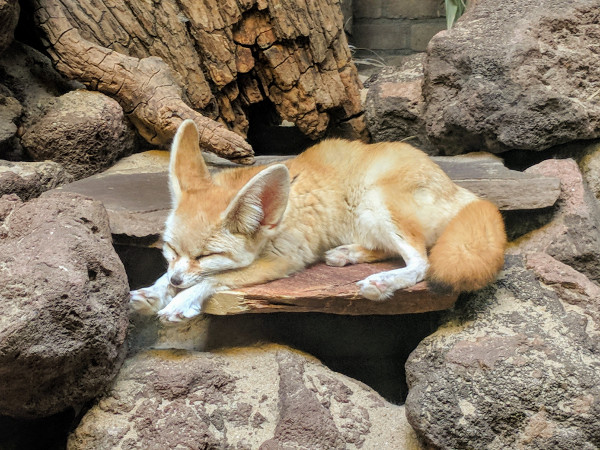
Sleeping Fennek fox – Didn’t want to disturb it
Artis Royal Zoo & Aquarium
In my humble opinion, the Artis Royal Zoo is worth every penny.
The zoo is quite large for being in the city and showcases a wide array of animals and beautifully maintained habitats.
Several of the smaller birds and mammals are free to roam around encased buildings which my husband and I gladly spent most of our time in. These buildings allow you to interact closely with smaller creatures and see how they interact with humans.
You’re not allowed to touch the animals but sometimes birds or the small mammals might climb onto your shoulders for a bit of rest.
The docents throughout the park are incredibly knowledgeable and will certainly tell you everything about the creatures in their care. Their love for the zoo and its inhabitants is like none other!
Before leaving the park, make sure to stop into the Aquarium. It’s much smaller than the Zoo but certainly worth a look.
Also stop in at the butterfly house where you’ll see dozens of colorful butterflies ranging in all shapes and sizes. It’s an incredible sight to see.
Tickets for adults (10y/o and older) are €21 and €17.50 for 3-9y/o children. Toddlers under 3 are free. If you order your tickets online you save €2. If you plan on visiting the Mircropia Museum as well, you will get a further discount for both Artis exhibits.
Related: Long-Haul Flight Survival List

Alex checking out some micros through the microscope
Me playing around with a gigantic version of a living microb
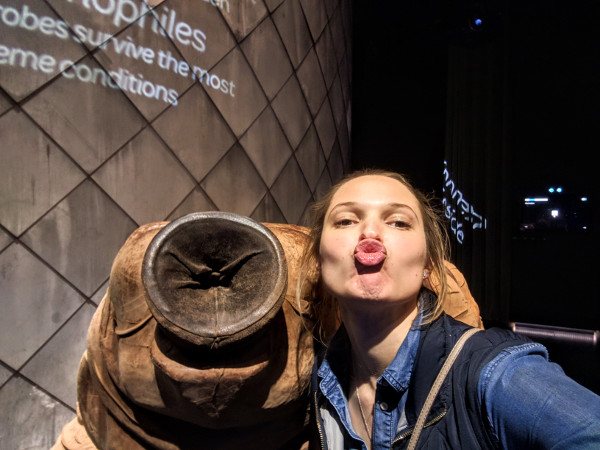
Micropia Museum
When we booked our Zoo tickets we also bought entry for the Micropia Museum. My husband was super excited about this one but I wasn’t sure how it’d turn out. I had in my head that we’d be looking at fungus in petri dishes.
That was pretty darn far from the truth. This place was amazing!
Upon entry we were greeted with interactive displays and a large microbe that actually looked pretty darn cute!
The museum takes you on a journey of micro-organism by the use of displays, videos, and real microscopic views of bacterias and tiny life.
The museum even has a working microbiology lab where you can watch scientists work and ask them questions!
Don’t forget to check out the smells display on your way out of the museum – it’s a doozy!
This museum and the Zoo are must-see attractions if you’re traveling with a family. Youngsters will certainly get a kick out of these.
Tickets for adults (10y/o and older) are €15 and €13 for 3-9y/o children. If you order your tickets online you save €1.
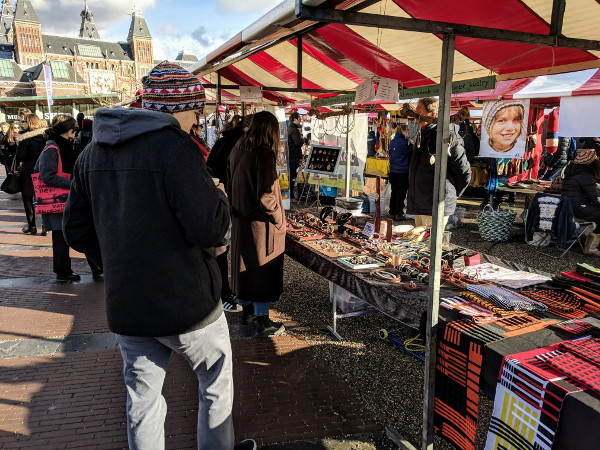
Checking out a local Sunday Market outside the Rijksmuseum
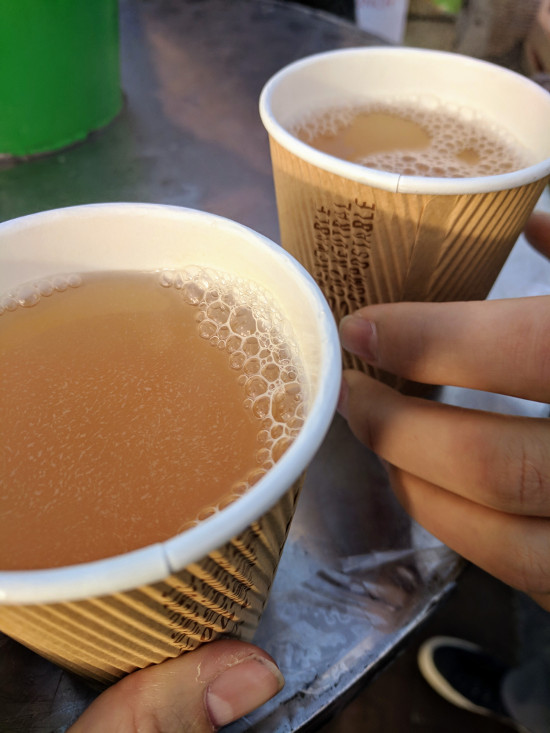
Steaming cups of freshly pressed, hot apple cider
Sunday Market
Farmer’s markets and flea markets offer you a wonderful opportunity to brush shoulders with the locals. Grab a few refreshments and picnic on the grass!
These markets offer fresh fruits, veggies and handmade crafts, while local food trucks and cafes will set up areas to serve delicious dutch foods. Yum.
There markets move around the city so make sure to read up on them before heading out so you are guaranteed where they’ll be and when.
My husband and I were pleasantly surprised to stubble upon a large one in the open space between the Van Gogh Museum and Rijkmuseum on Sunday morning. I don’t know if it’s there every Sunday but it’s worth checking out if you’re in the area.
Related: The Most Important To-Do List Before Your International Flight
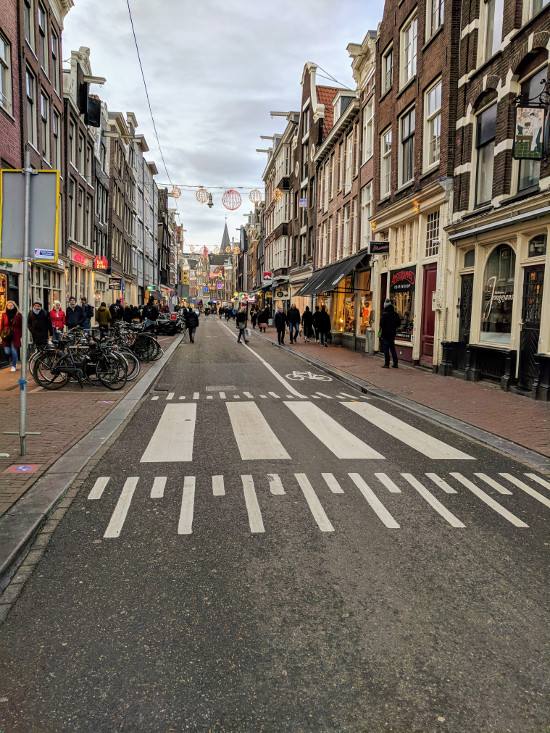
Haarlemmerdijk Street & It’s Shops!
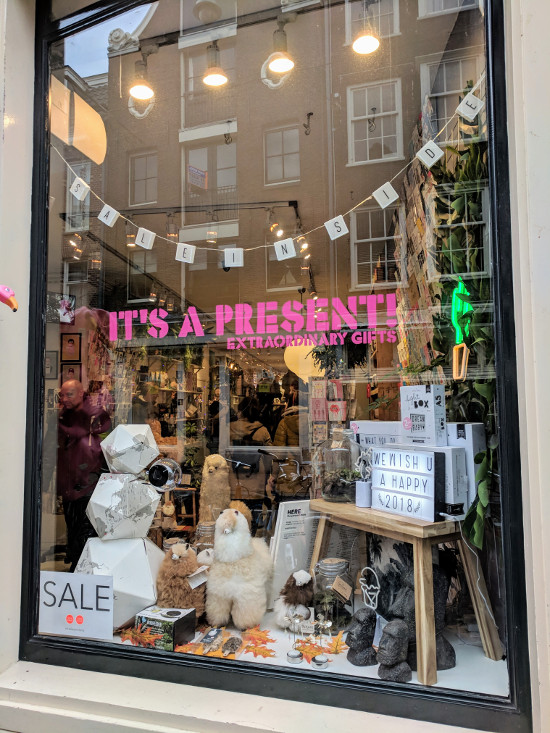
One of my favorite stores in Amsterdam! This place was adorable and held a lot of fun, surprising gifts.
Seriously, how adorable! Just one of many surprises you’d find at It’s A Present!
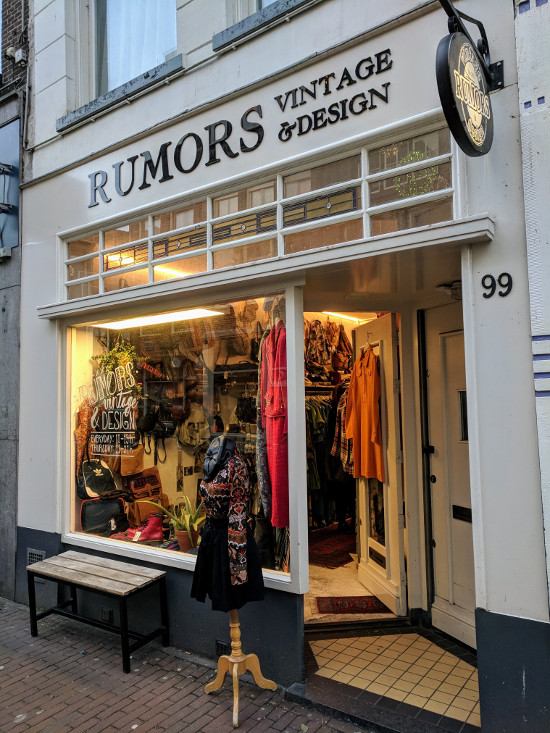
Best vintage shop in the area – so many great finds and at really good prices too.
Shopping
This one is pretty general as there’s TONS of shopping all around the city but one street in particular stuck out.
Haarlemmerdijk Street blew me away with it’s collection of local shops. I didn’t seen one ‘brand’ store around so I knew I found a good locals-only area.
Lining the street were small boutiques, home good stores, bookshops, cafes, an old movie theatre and vintage shops. Oh, and enough restaurants for each night the month!
If you’re looking for authentic dutch finds this is the place to do it. Just know that the prices are little higher in these shops but what you pay out of pocket, you get back in high quality.
Besides, window shopping is free! 😉
Have you been to Amsterdam? Do you believe there’s a sight or attraction that should be added to this list?
Leave a comment below!
8 Comments on 8 Amsterdam Attractions That are Not the Rijksmuseum