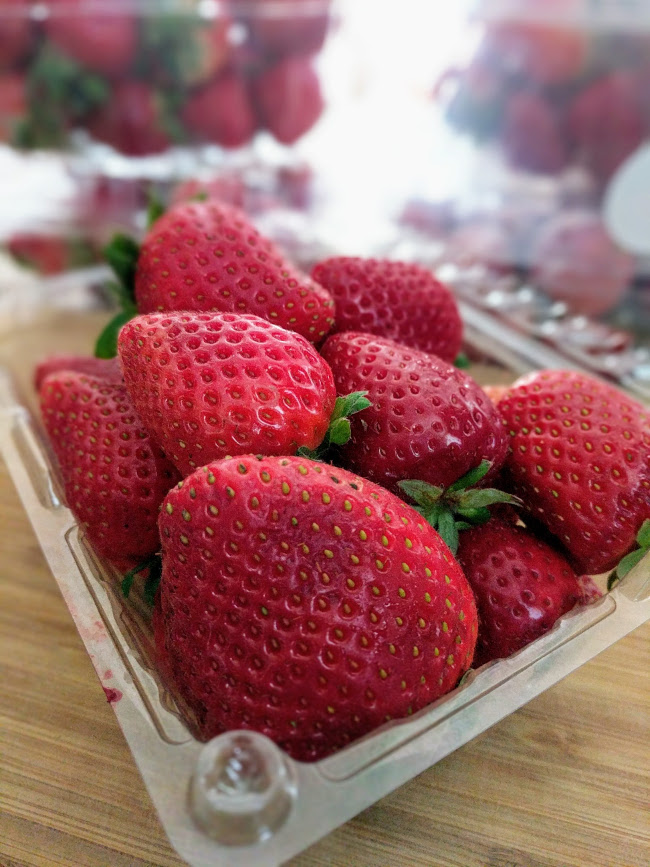
It is late spring and that means southern California is inundated with millions of glorious little red gems – the strawberry! I mean this in the literal sense as you…
It is late spring and that means southern California is inundated with millions of glorious little red gems – the strawberry! I mean this in the literal sense as you can pick up pound of these ruby beauties for about 75¢ a pound.
That being said, my house always has strawberries. Whether it’s fresh, dried, canned or frozen, they are within reach.
Besides being eye catching, the strawberry is also considered a superfruit. They are jam-packed with vitamin C, potassium, fiber and antioxidants which means they’re good for your heart and overall health.
They apparently help with cancer prevention as well! So strawberries being labeled as a superfruit no longer surprised me. 🙂
When the fruit is dehydrated, or dried, you still retain many of these nutrients which makes them terrific snacks for backpacking, camping or just daily running around.
Attention: My post may contain Amazon affiliate links! As an Amazon Associate I earn from qualifying purchases.
So when a good friend asked how to dehydrate strawberries, I jumped at the chance to explain how easy it was and what delicious results drying would yield.
Her question was also perfectly timed as we were preparing to head out for a 2 day backpacking trip to Cottonwood Lakes in the south eastern Sierra mountains.
What better way to enjoy spring than with sunshine, majestic mountains and sweetly tart, dried strawberry chips!
So let me show you how easy it is to create…
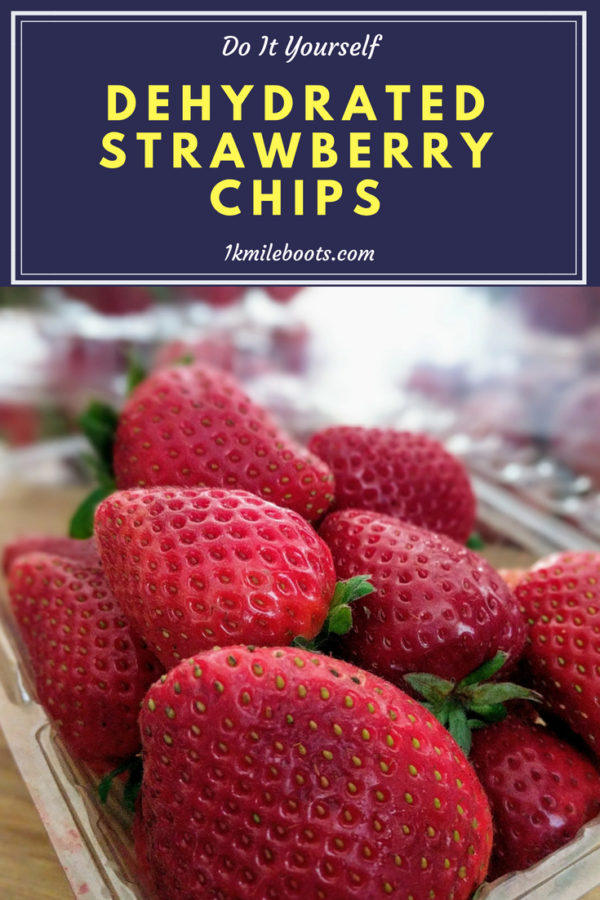
Dehydrated Strawberry Chips
Ingredients/Tools:
- 5 Lbs Fresh, Firm Strawberries
- Large Plastic Cutting Board (not wood like me!)
- Sharp Paring Knife
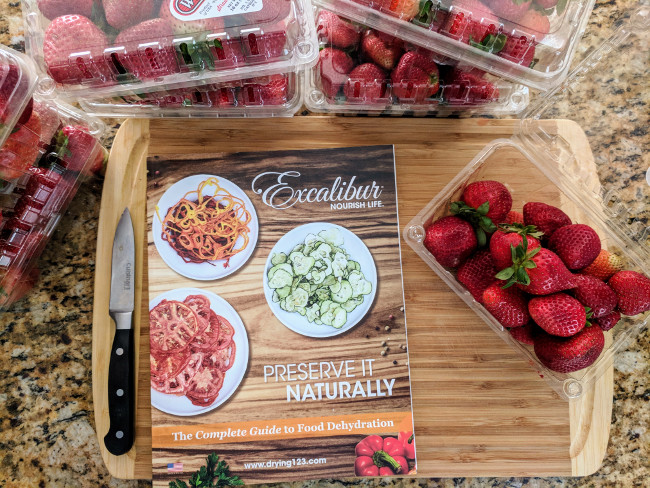
- Dehydrator – I use this Excalibur
- Dehydrator Mesh Sheets
- Bowl (For Discarded Strawberry Tops)
Instructions:
You will want to look for strawberries that are fresh but not overly ripened since you’ll need them to be firm. Firmer strawberries will be easier to cut but you can still get away with this using ripened strawberries.
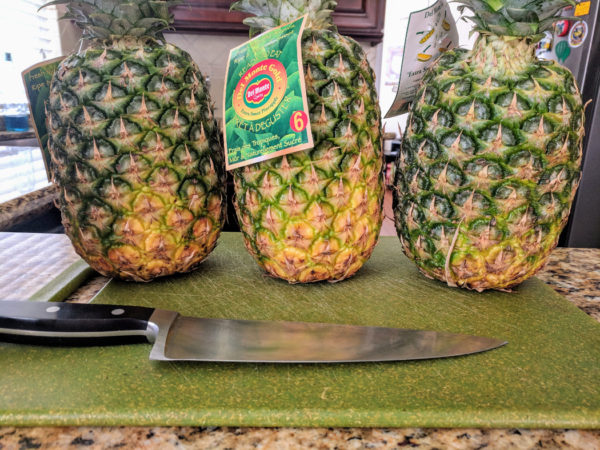
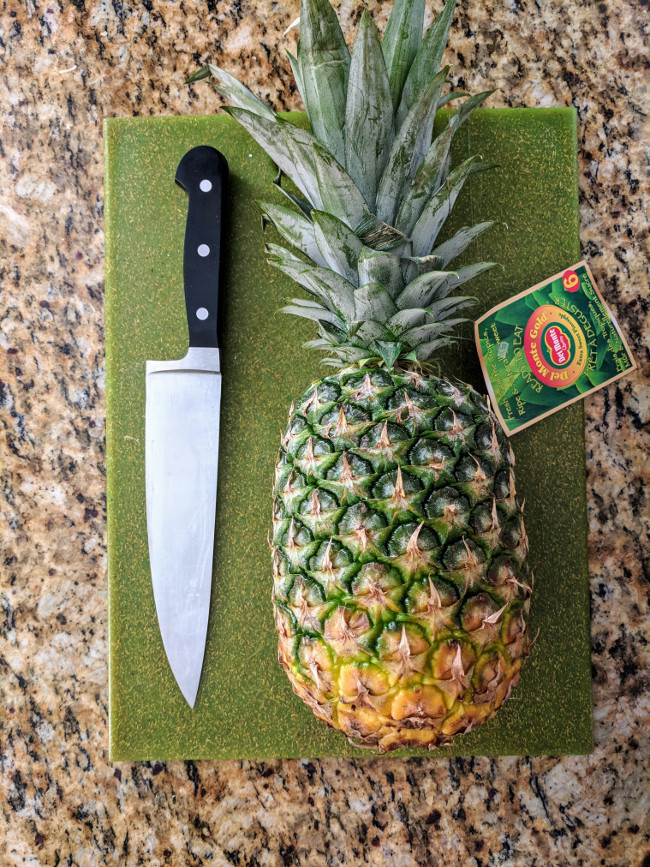
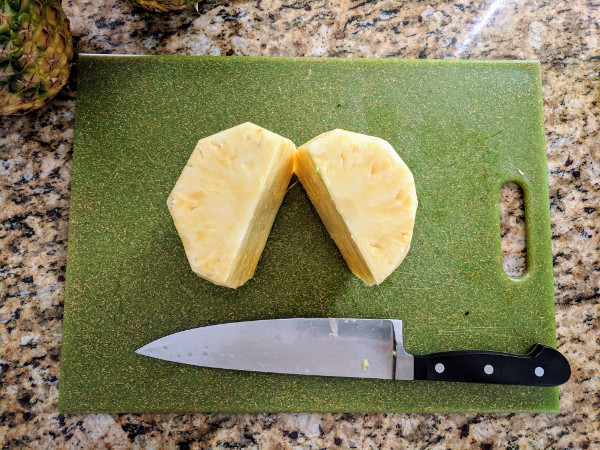
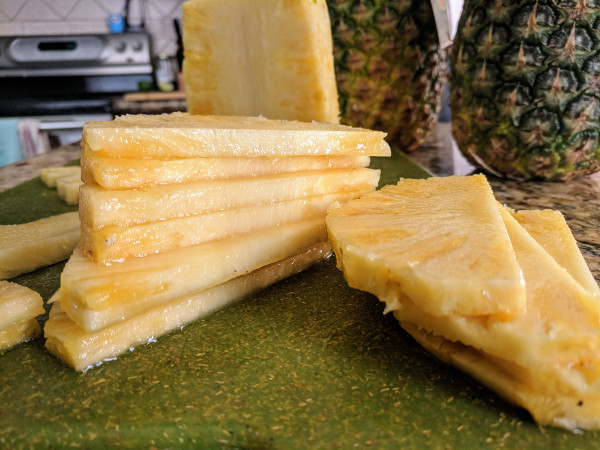
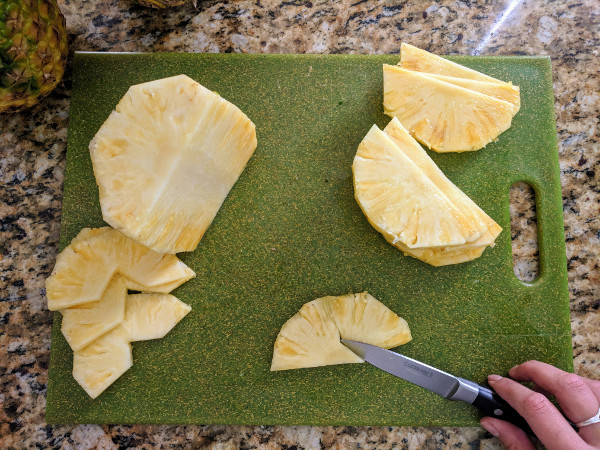
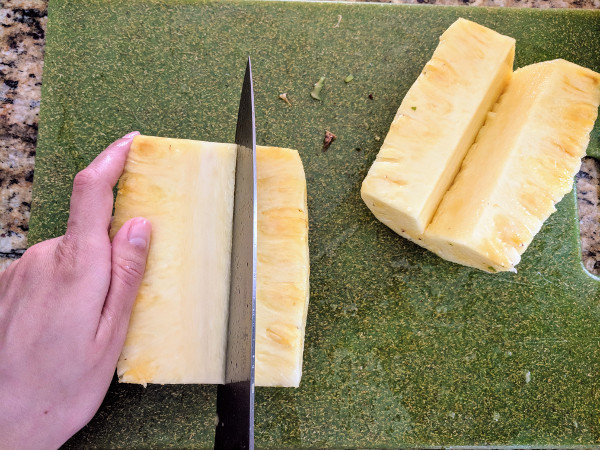
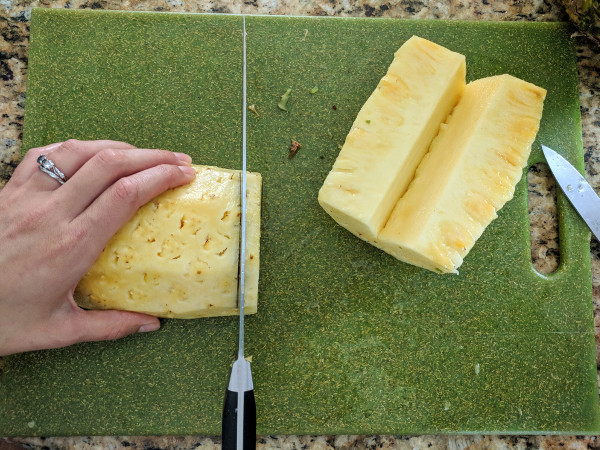
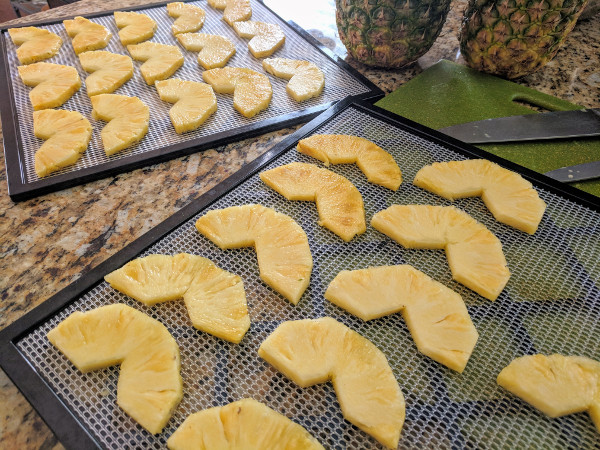
Related: Easy Dehydrated Pineapple
Fully wash the strawberries and let them sit for an hour to dry. If you are crunched for time, pat them down with a paper towel.
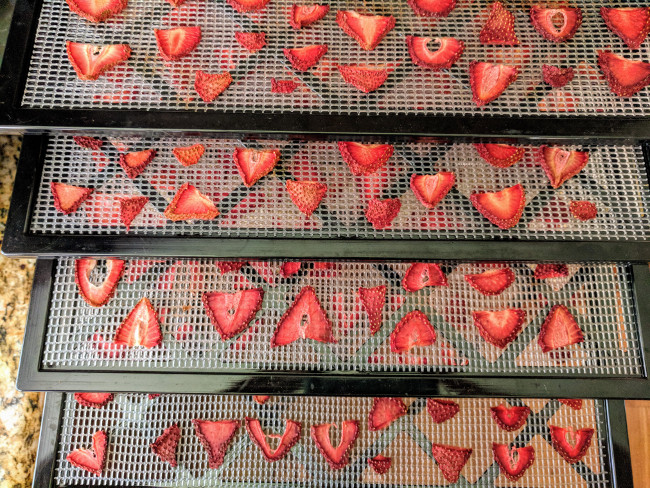
Once the strawberries are dry you can begin cutting them into ¼ or ⅛ thick slices. There’s two different cuts you can make, neither are wrong.
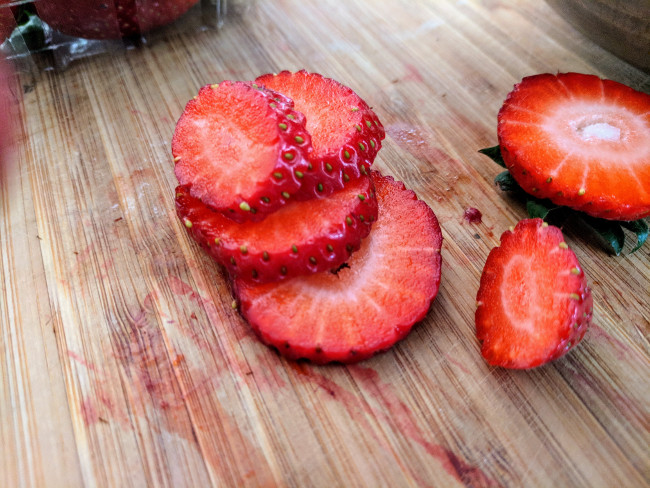
Horizontally will give you round chips, vertically will give you pretty strawberry shaped ones. I thought vertical cuts were faster but it’s up to personal preference.

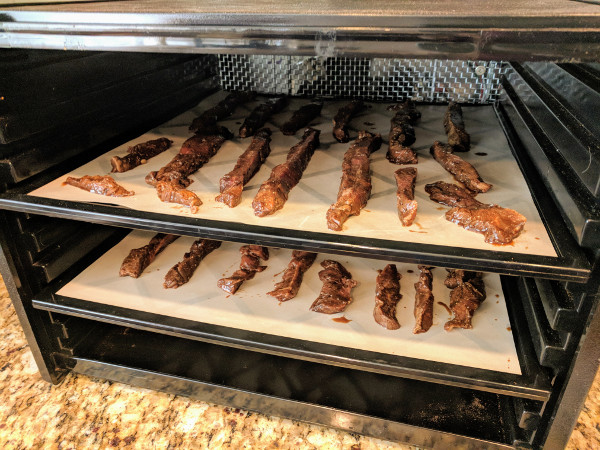
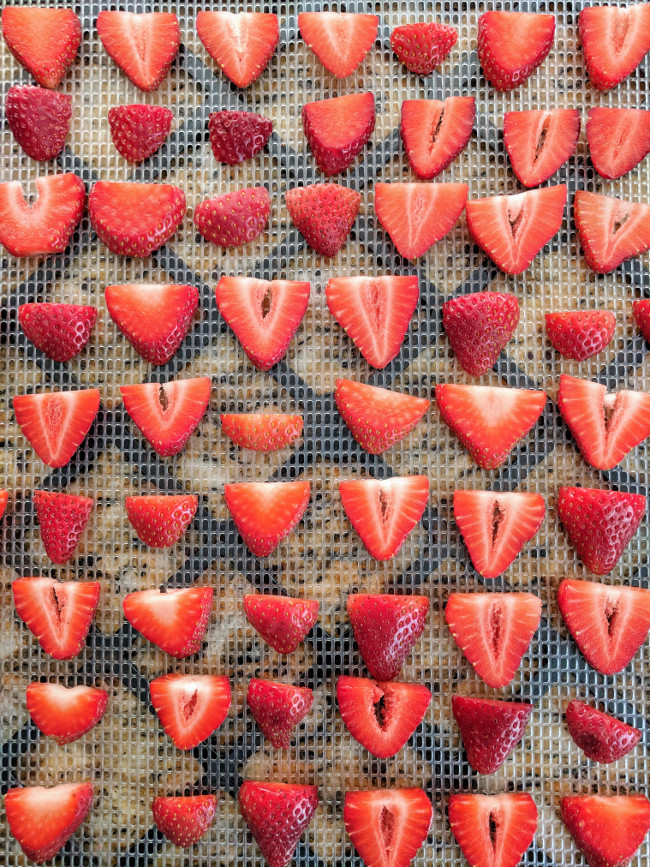
Once finished, spread the strawberry slices out on your mesh sheets and place into dehydrator.
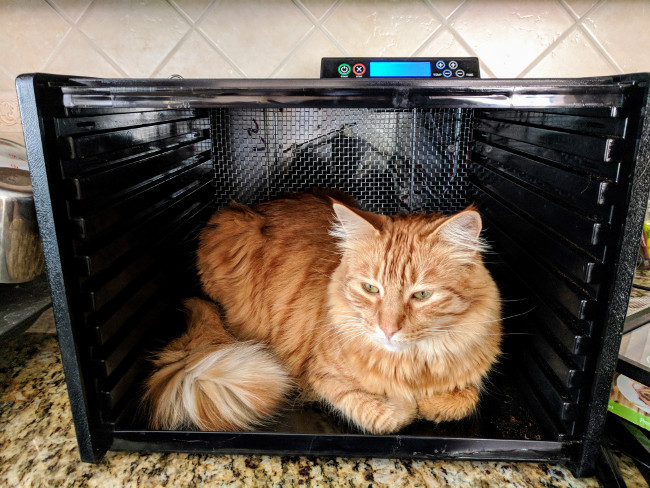
Pro-tip: Wash out your dehydrator if a cat has previously used it as a napping spot.
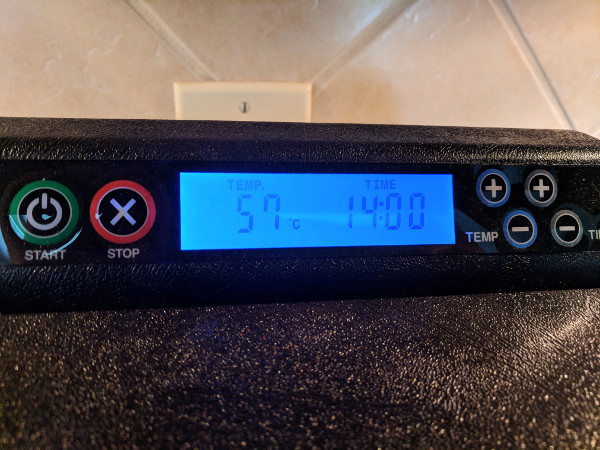
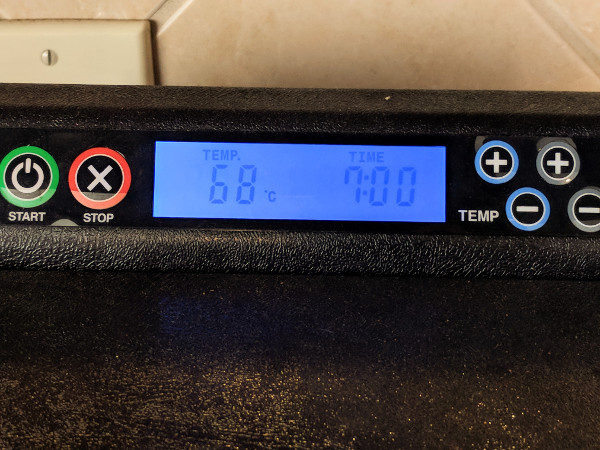
Set your temperature at 135°F/57°C, dry for approximately 10-18 hours depending on you humidity level. Higher humidity requires longer drying time.
Store in airtight container, keeps for 1-2 months.
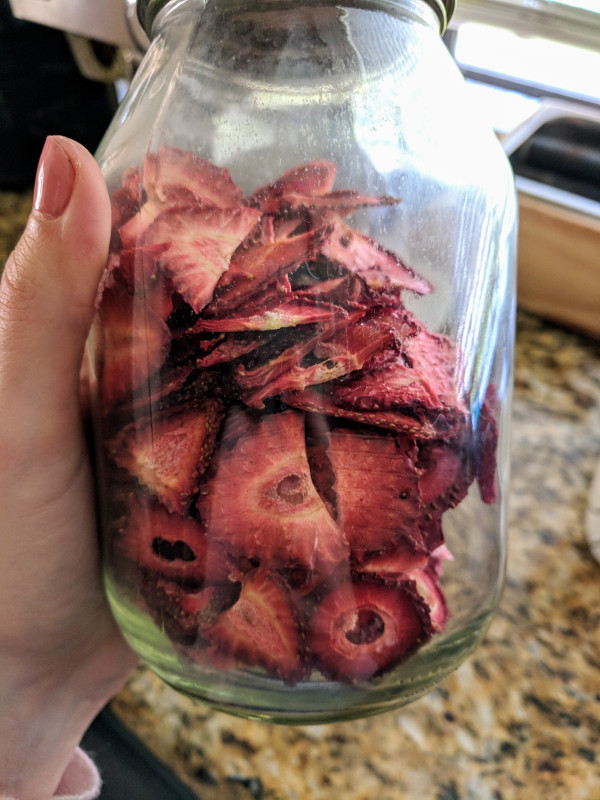
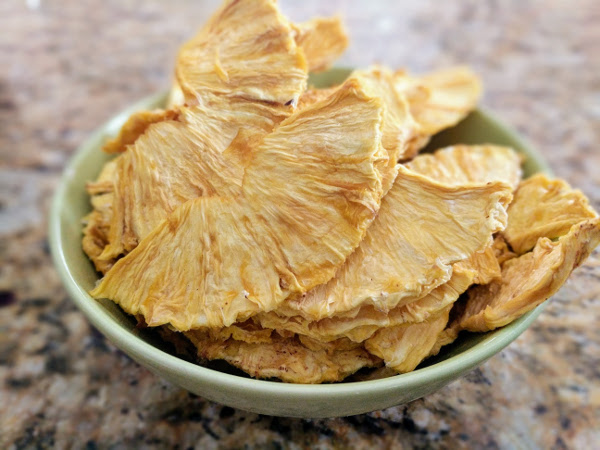
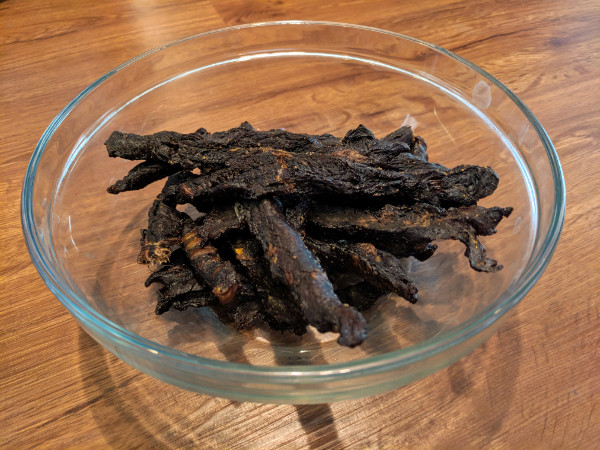
The final product should be these beautiful strawberry chips which you can use in granola, oatmeal or by themselves. Yum!
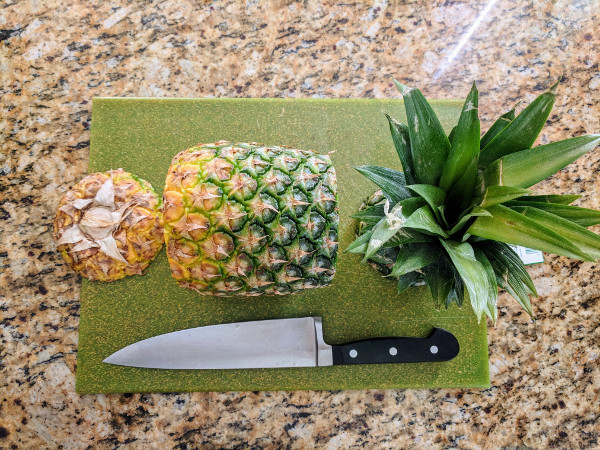
Related: Easy Dehydrated Pineapple
Bonus Tips!
- Don’t use a wooden cutting board if you can help it. I’m still trying to get strawberry juice stains out of the wood. Plastic is better.
- If you find that some of your strawberries have mushy spots, either cut around them or reserve those for jam or smoothies.
- Add a splash of lemon juice for extra zing!
What do you like to add dried strawberry slices into? Leave your thoughts or ideas down below in the comments. 🙂
1 Comment on Easy Dehydrated Strawberry Chips