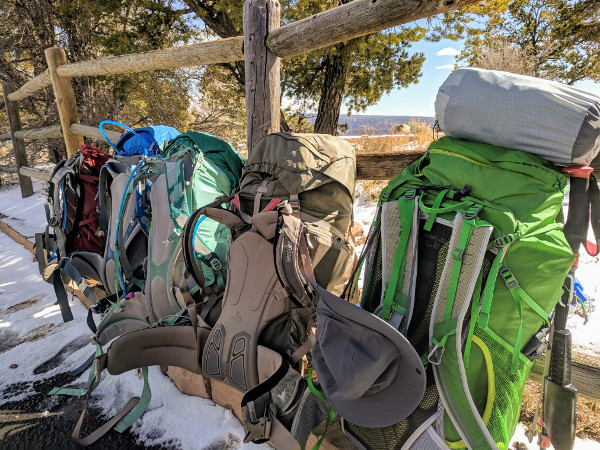
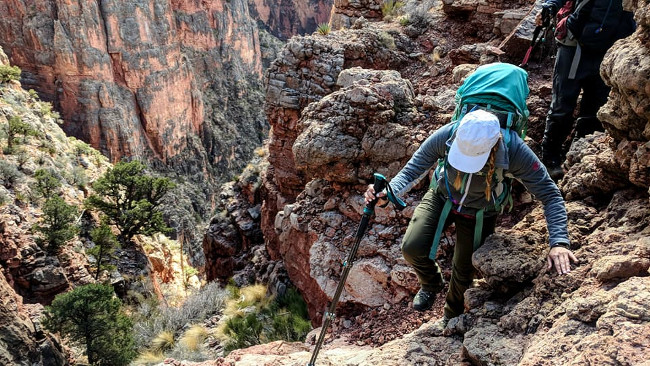
Parks are becoming more popular which means grabbing a wilderness permit for the best trails is getting more competitive. Since major national parks like Yosemite, Yellowstone and Grand Canyon received…
Parks are becoming more popular which means grabbing a wilderness permit for the best trails is getting more competitive.
Since major national parks like Yosemite, Yellowstone and Grand Canyon received hundreds of thousands of visitors each season, they each have their own set of trail quotas which help to maintain the wilderness aspect of the backcountry as well as negate wear-and-tear on the trails.
Holding trail quotas and requiring permits isn’t a recent concept for these parks – most of them have been doing it for decades! It’s just the public has recently changed it’s tune about visiting these parks and now there’s a huge influx of people.
Weekend warriors heading out for adventure? Check.
Large families looking for an inexpensive vacation? Check.
Hipster backpacker with his vintage camera claiming the last walk-up permit? Check.
And while I encourage everyone to get out into these amazing parks and truly connect with nature….I also really want that permit too.
So I’ve come up with a few clever tips to make it easier to get one!
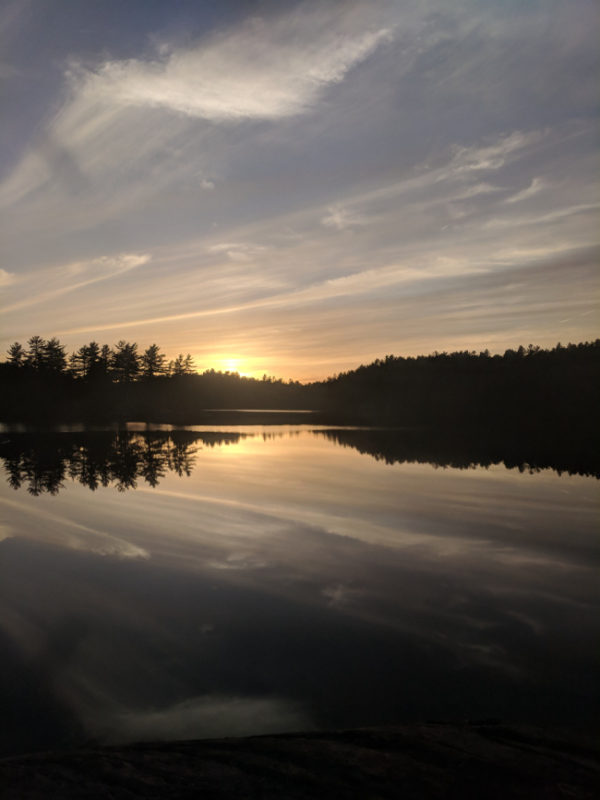
How To Get A Popular Wilderness Permit Using These Useful Tips
Attention: My post may contain Amazon affiliate links!
By the way, if you haven’t read it already, you should check out my recent post, How to Plan an Awesome Trip and Get that Wilderness Permit, which details how to first plan your trip.
So, let’s get right down to it!
Enter Through a Different Park
I don’t think a lot of people realize that many parks butt up next to each other with open boundary lines.
That means, if you want to backpack in Yosemite, why not start with a trail head in the Sierra National Forest? Or start in Ansel Adams Wilderness and trek north into Yosemite?
If you plan it carefully, you can enter through lesser known national parks or forests and trek through the more popular ones.
You’ll have to sacrifice additional miles but it’s worth it!
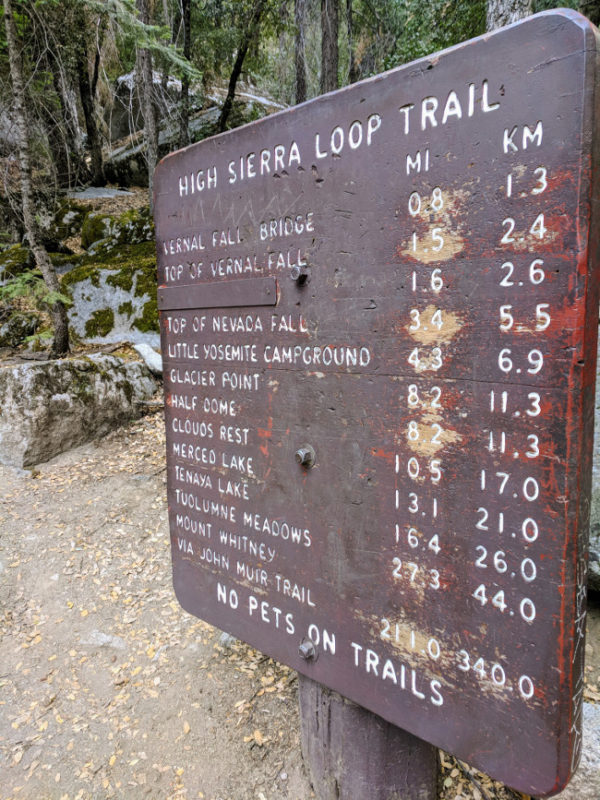
Choose a Lesser Known Trail or Starting Point
Just because it’s ‘always done’ one way, doesn’t mean that’s the best way for you.
Try going the opposite direction on a popular trail!
As an extreme example: If you’re looking to do the Appalachian Trail, which most do South to North so they’re always in temperate weather, try for a permit for North to South. (Note:This direction is best for experienced thru-hikers so bare that in mind)
If cold weather and heat don’t bother you much, you’re likely to get this permit.
If you’re not looking for a specific trail and just want to explore a popular park, look for lesser known trails.
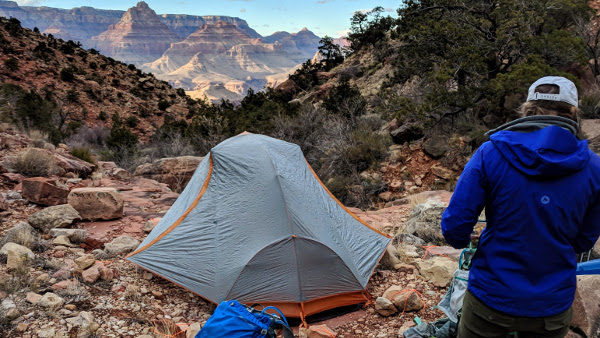
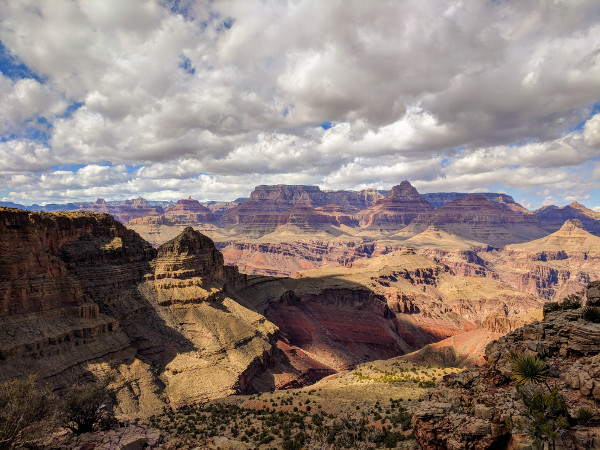
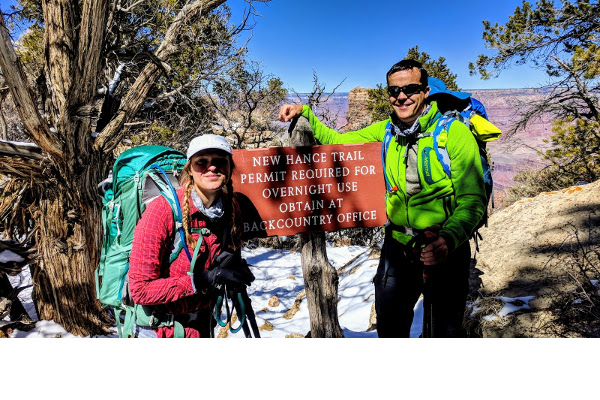
Take the Grand Canyon for example: forgo iconic trails like Bright Angel or Kabob for trails like New Hance or Grandview.
These are less populated with means you’ll end up with an overnight permit and more solitude. Win-win!
Related: The Ultimate List of Backpacking Luxuries
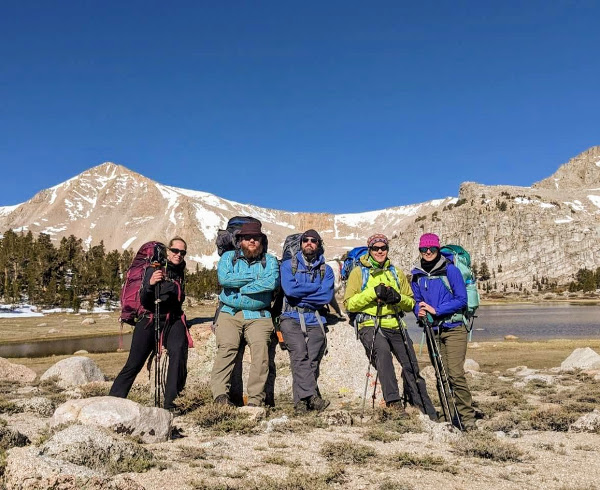
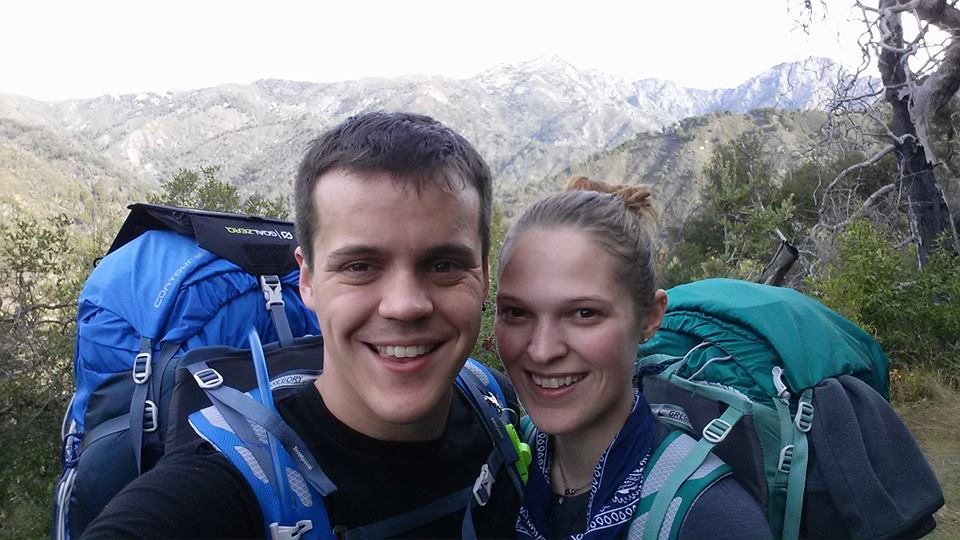
Smaller Group = Better Chances
Every heard the saying “three’s a crowd”? This is particularly true for getting wilderness permits.The more people in your group, the less chance you have of getting that permit.
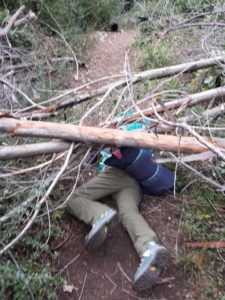
Alex and I had a permit for 12 people (Yep! 12!) for the Subway trail. Problem? It was for a Monday, the day we were leaving Zion National Park to head home.
When we checked with the permit office to see if had any cancellations for Saturday or Sunday we discovered 8 spots were open for Saturday.
We still had 12 people.
Unfortunately we were out of luck but if you keep your group small, around 1-6 people, you’ll have a greater chance of success.
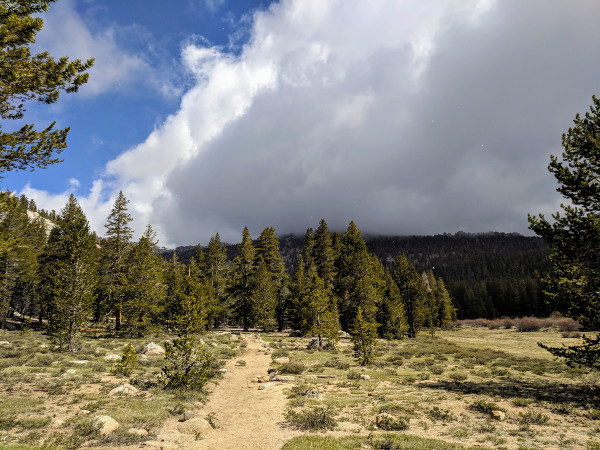
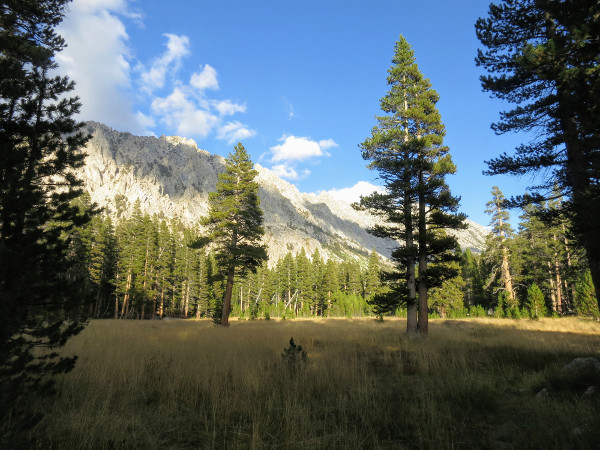
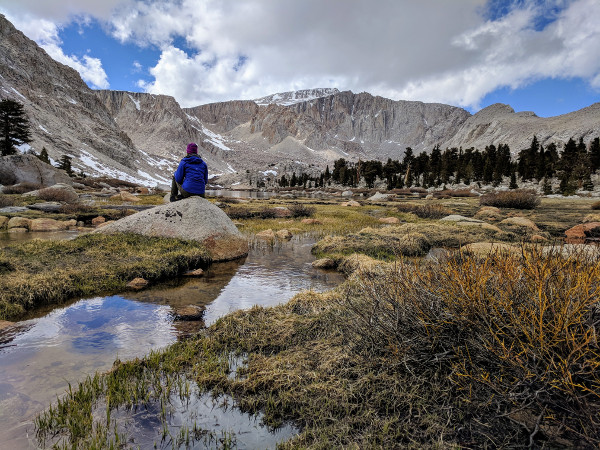
Go in the Off Season
I absolutely love trekking in the off season since it’s less crowded, although you sometimes experience less-than-perfect weather.
If that’s not an issue, try for permits in between November and April. You’ll find a lot of trails are still open and permits are easy to come by.
Also try for cool temp areas in the summer and warmer areas in the winter, if possible.
I’m lucky to live in southern California so it’s pretty darn easy to go in the off season for most places. I head to the mountains in the summer and to the desert in the winter.
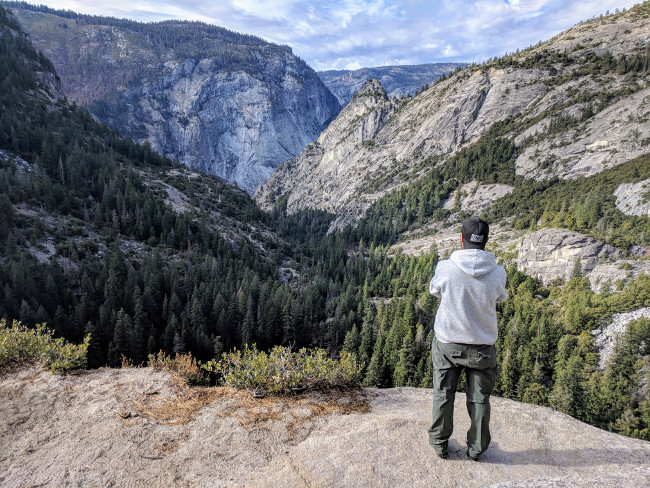
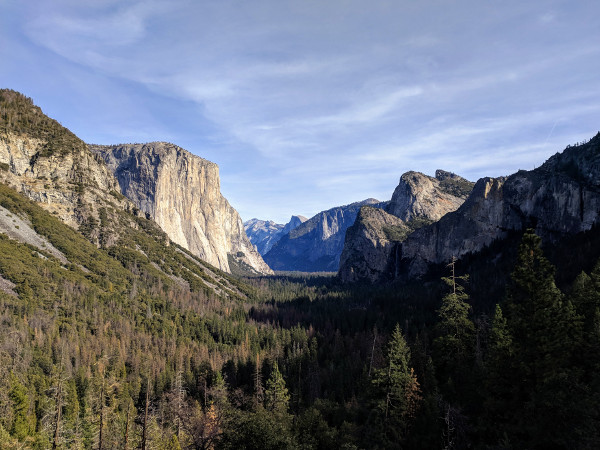
One of my favorite off seasons trips was when we nabbed Yosemite Valley campsites for New Years weekend. Hardly anyone was there and while we did have cold weather and less sunlight, it was incredible to hike up to Yosemite falls with only a handful of others in sight.
Related: The Ultimate Care Guide for Your Backpacking Gear
Opt for Weekday Permits Rather than Weekend
There’s something to be said of Weekend Warriors but when it comes to grabbing a permit for places like Yosemite, the weekend might not be your BFF.
Since most Americans work Monday to Friday, weekends get filled very quickly with individuals and families looking to hit up the trails.
This means the likelihood of you getting that super popular permit is…less likely.
Going back to our Subway Trail permit example, Alex and I put in the application for either a Saturday, Sunday or Monday trip and, of course, we got approved for Monday which didn’t really work for us.
Instead try for a Tuesday to Thursday permit which are much easier to come by.
Monday & Friday are good as well but you’ll be competing with those heading out on a 3-day weekend.

Be Flexible with Your Dates
Okay, so you’re telling me to go in the off season but still have flexible dates? Are you kidding me?
Unfortunately, nope.
Just because you’ve submitted your application for the off season and asked for a Tuesday permit doesn’t mean you’ll get it. You’re just more likely to get it.
Some places have a very limited quota for how many people can be on each particular trail but permit officers do their best to provide permits for everyone.
This just means you may still have to be flexible with your trekking dates.
Related: 10 Essentials for Hiking & Backpacking
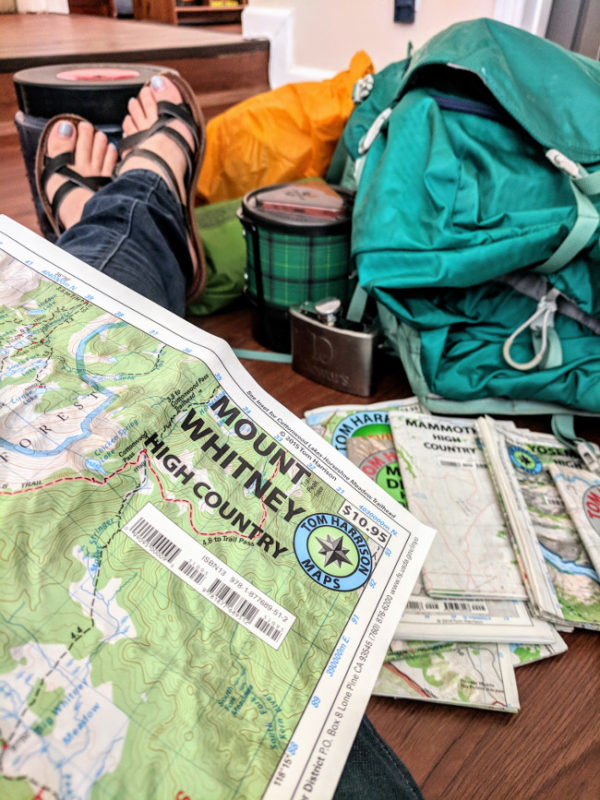
Apply as Far in Advance as Possible
This one is a given as you should always apply for your wilderness permit as far out in advance as you possibly can.
Like I mentioned in my earlier post, How to Plan an Awesome Trip and Get that Wilderness Permit, you’ll need to check how early you can apply.
For most national parks and forests it’s about 6 months but for others it can be 3 months or even 6 weeks.
Check the government website for the park you’re going to to get the latest information.
Have Everyone in Your Group Apply
So I know I already said that the smaller your group, the higher the chances of you getting that permit you want.
However, if you have a larger group you can ask each person to submit the same application which increases your chances of getting it.
This is especially helpful for super-hard-to-get permits like Havasupai, Colorado River rafting and Half Dome.
Even if two or three people end up with the permit, you can always cancel whichever you don’t need.
In my experience, this is the best possible way if you have a large group since getting approved for a 4 person permit is easier than getting one for 8 people.
If two people in your group get a permit for 4, then all 8 of you can go! Simple math.
Related: The Ultimate List of Backpacking Luxuries

Try for a Walk-Up Permit
When all else fails, try for a walk-up permit the day of or before you’re planning to head out. A walk-up permit is a first come, first served permit which popular parks will hold for the day of or day before treks.
Some places offer a limited number of these so I recommend calling head to find out how many the permit office offers and when they open. Then, be there at least an hour before.
Some might think this is risky but you’d be surprised at what you can get!
Want an day-permit to hike Mount Whitney, the tallest peak in the continental USA? It can be done this way.
Want to see The Wave in Antelope Canyon? Sure fire way to get a last minute permit.
You can even get them for thru hikes like the John Muir Trail via Lyell Canyon trailhead although I would only do that if you already have food drops planned out.
While it does leave everything up to chance, walk-up permits can be an awesome and spontaneous way to shake up your trip.
Honestly, there are tons of tips for getting that permit but the best way is to apply for it early and often.
Always check what the application requirements are and, if looking for a walk-in permit, what restricts are in place.
And never, ever go out into the backcountry without a valid permit. You may not run into a wilderness ranger but if you do, the fine for being caught without a permit is hefty.
So be smart, do your research and use these tips to help secure that wilderness permit!
Got a tip that I didn’t mention? Feel free to leave it in the comments below! 🙂
1 Comment on How To Get A Popular Wilderness Permit Using These Useful Tips