It’s a new year which means we all take on new resolutions and changes. One resolution I hear a lot of lately is, “I’m going to travel more.” And while…
It’s a new year which means we all take on new resolutions and changes. One resolution I hear a lot of lately is, “I’m going to travel more.” And while that thrills me to hear, it also reminds me that we all need to be responsible while traveling, especially to places that see A LOT of tourists.
More and more people are traveling and that means several negative things: more trash, more carbon in the air, more people acting like they’re on spring break in Miami.
To combat those negatives, there’s a huge movement among millennial travelers to be much more eco- and local-conscious.
So, how can we, as travelers, be more responsible and leave the world better than how we found it? It’s a lot easier than you might think.
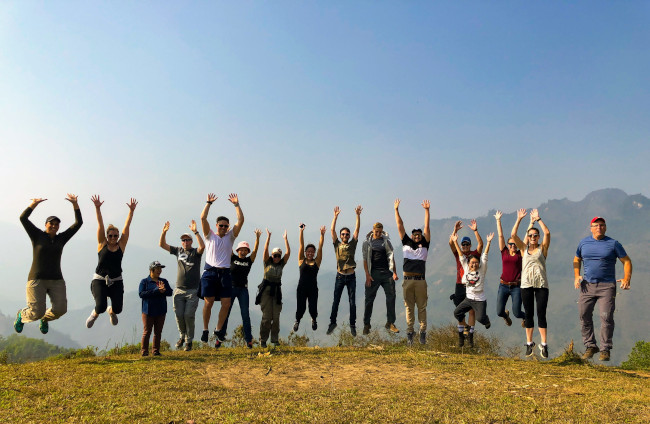
How To Be A Responsible Traveler

Attention: My post may contain Amazon affiliate links! As an Amazon Associate I earn from qualifying purchases.

Volunteer with Locals or Try a Volunteer Vacation
When heading out onto your vacation, why not see how you can help the locals? Perhaps there’s a soup kitchen in Berlin that could use an extra hand or a village outside of Hanoi that may need help weeding an area for crops.
Whatever your skill level or strength, there’s bound to be a local organization that could use an extra volunteer for a day or two.
What an amazing way to add some meaningful purpose to your trip! You’ll even get to hang out with locals and learn more of their way of life.
Plus, they would be extremely appreciative and you’d be doing some good for the world.
Did you know that you can do volunteer work as a vacation? It’s true!
These trips are usually a week long and provide basic accommodations and even meals! Plus the cost is usually cheaper than a traditional vacation.
Each trip is different but volunteer activities can range from teaching English to building homes, schools, playgrounds and gardens. They also offer you the opportunity to get immersed in the culture with free time or scheduled group trips to local areas and cities.
Heading out on ‘volunteer vacations’ is slowly becoming more popular, especially among the millennial generation, but these trips are great for solo travelers, students and families.
International Volunteer HQ and Plan My Gap Year are the two most popular sites for finding international volunteer trips.
Be aware, however, that these trips do not include airfare – you’ll need to do that on your own.
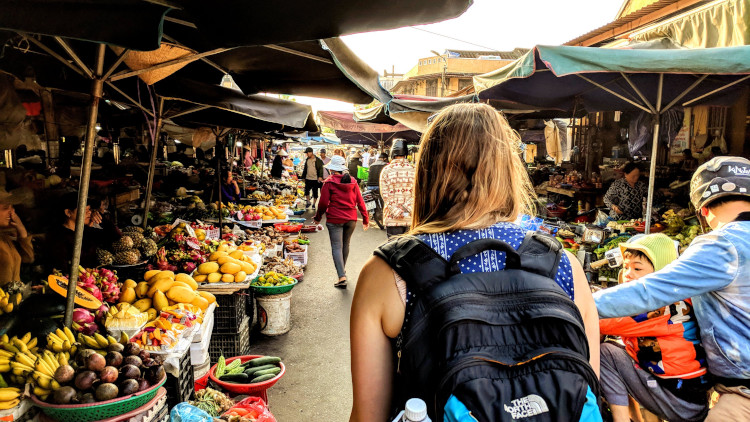
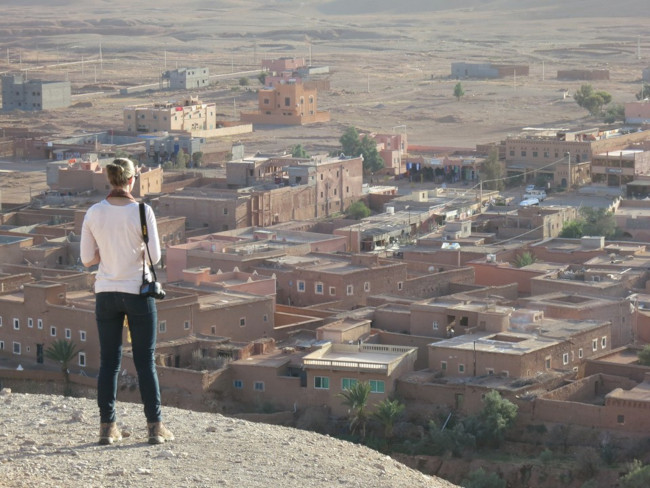
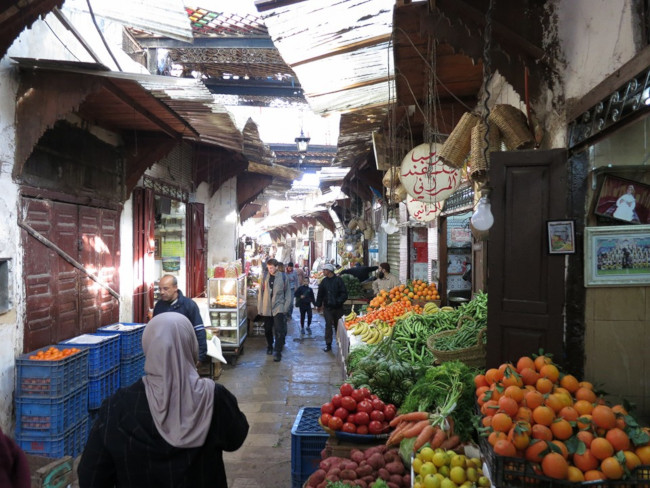
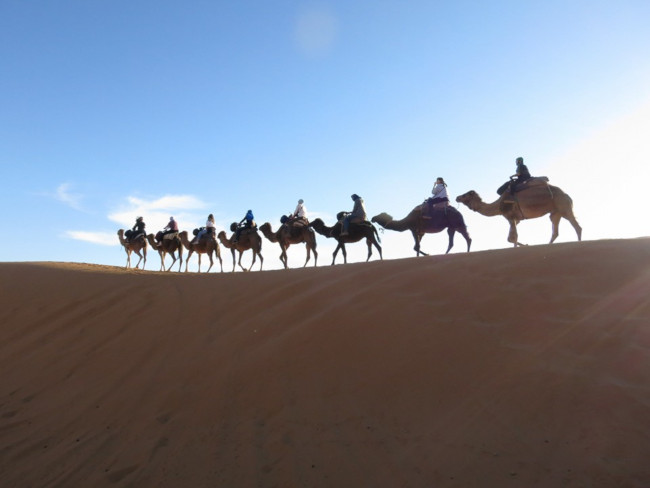
Check Out Smaller Cities and Villages
There’s something to be said about visiting major cities like New York, Paris, London, Tokyo or Beijing but you’d be missing out on a lot if you overlook cities like Normandy, France, Havana, Cuba and Nara, Japan.
Smaller, lesser known cities boast big opportunities for responsible travelers to learn more about the region and the nation’s people.
You’d also run into less crowds, find inexpensive restaurants & accommodations and get to spend more time with the locals.
Plus, spending your money in these towns goes a long way into securing their businesses and their futures.
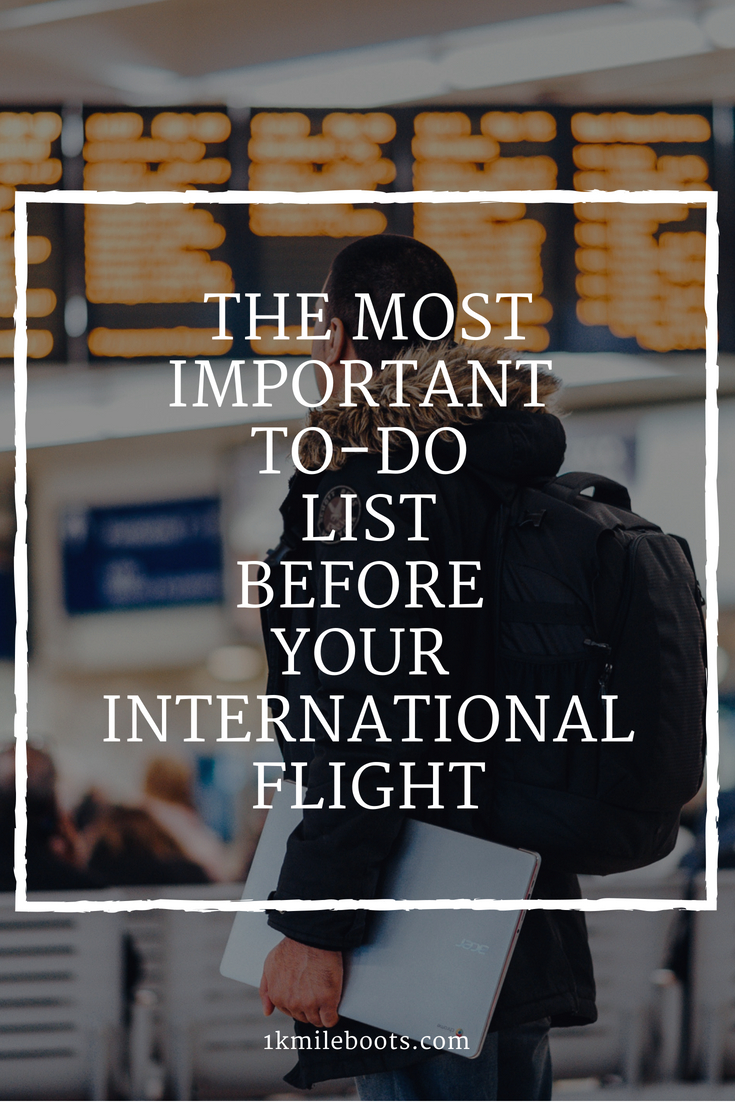
Related: The Most Important To-Do List for Your International Flight
Take the Time to Learn the Language – Or Just a Few Phrases
Other than English, I can speak in 5 different languages. Well…I know some words or phrases in 5 different languages.
But that’s all it takes to go from a tourist to responsible traveler in any country!
I find that when I say ‘hello, please, thank you’ in the local language, most people light up with a smile. It’s the easiest way to make friends and break the ice when meeting someone new.
Even if you think you’re butchering the language, as long as you’re trying, that’s really all that matters.
Learning a few, important phrase might also help you when you’re lost, trying to make a purchase or ordering food.
My favorite way to learn a new language is through the Duolingo App which can be downloaded on all smartphones.
Not only is Duolingo free to use (there is also a paid version), it offers over 20+ languages and continues to add more all the time!
You can even learn Klingon and no, I’m not kidding.
Spending a few minutes a day with a language app like this, learning just simple phrases, will go a long way at creating a more meaningful trip.
Adhere to Local Customs and Culture
When going to a country that is particularly different from yours, where they have a totally different way of life, do your best to learn a few of their customs. This will go a long way of getting locals to become comfortable around you.
Remember: You are in their country, not yours, so don’t take offense to customs or beliefs that you may not understand or agree with.
As a responsible traveler, you’ll want to keep an open mind and follow the locals. It’s as much about respect as it is a learning experience.
Learning the country’s customs will also help you have an easier, stress free trip.
For example, in Paris I learned that I could not get dinner any time before 7:00 pm so I adjusted my schedule to accommodate when the restaurants would open for dinner.
I also learned that most waiters will not come up to your table to check on you or see if you need anything, you have to wave them over. In America this would seem impolite, in France, it’s normal!
So how do you research a country’s social customs? Well, the internet becomes your best friend.
You can do a general search but you’ll get thousands of results and some of the information can be conflicting. I’d suggest checking to see if the country has a local tourism website or embassy.
If traveling with a tour group, check with the company. Many will do the research ahead of time for you and will answer questions you didn’t even know you had.
You can also check out travel forums and see if someone else has posted anything, if not, you can ask! You’ll most likely receive a ton of answers and even suggestions on local places to check out. Win-win information!
Related: Long Haul Flight: Survival List
Minimize Your Carbon Footprint Wherever Possible
Responsible travelers understand that flights are not the most eco-friendly way to travel and do their best to minimize emissions where possible.
There are so many ways to do this while traveling both in the sky and on foot. Doing so is not only good for the environment but also on your conscious and sometimes your wallet.
Rather than country hopping, check out a destination where you can get a round-trip flight and then explore that city as well as the surrounding area.
Not only will you be lowering emissions by not flying to multiple countries, you’ll get more time to explore deeper into that country’s culture and people.
If you will be country hopping, look for more travel friendly transportation like local buses or trains.
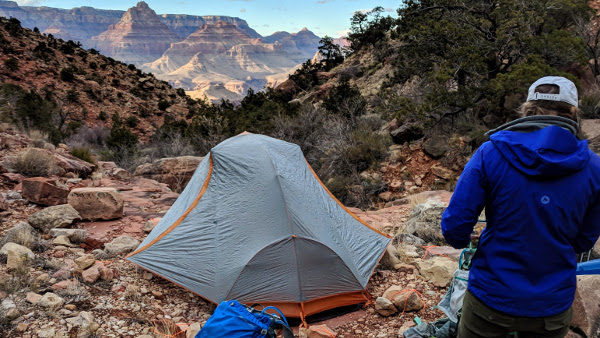
While in Vietnam, I took overnight trains to several cities and it was an incredible way to see how the locals traveled and get to see some countryside I wouldn’t have gotten to see had I flew.
Plus it’s an experience that will stay with me for a lifetime!
If you do have to fly to several countries – let’s be honest, it happens – responsible travelers look for offset programs like United Airlines and Delta Airlines to help reduce their carbon footprint. You can also search through retail certification programs like Green-G Climate which provides a large list of verified carbon offset retailers.
Lastly, always book coach.
I know, it’s not as glamorous as economy or first class, and you may get stuck next to someone who snores but you’ll be doing your part in helping to reduce emissions.
Think of coach as carpooling. The more people you can squeeze on the plane, the less planes are in the air and the more cost effective the flight becomes.
Don’t believe me?
Check out this in-depth study World Bank conducted on flights and carbon emission. While the math goes over my head the bottom line is flying in economy or first class creates almost 10x times the carbon emissions as flying in coach.
This study was conducted back in 2013… imagine how much worse it’s gotten since then. That information alone is enough to make me forever fly in coach.
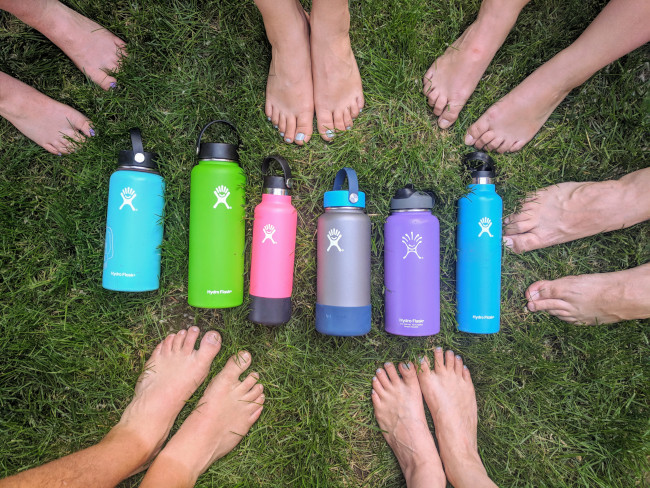
Go Green! Carry a Reusable Water Bottle
Annually, between 300-500 billion plastic bottles are used and tossed, globally. Of that number, 50 billion comes from the United States alone! And studies show that those numbers are set to increase over the next decade.
People…that’s a million bottles a minute! Let that sink in for a moment.
The situation is worse in developing countries who don’t have safe drinking water – bottled water is the only way to hydrate.
By the way, water bottles are made of polyethylene terephthalate (Pet) which can take over 400 years to break down. Not to mention, micro-plastics from bottles and trash are getting into the oceans and contaminating sea life….which we eat.
Seriously, this stuff is nasty!
So how does a responsible traveler deal with this crisis? By bringing their own reusable water bottle.
Really, this is probably the easiest and cheapest thing for you to do. Do you really want to buy water every time you’re thirsty? It’s not gentle on the wallet, depending on where you are.
Most domestic airports have water fountains and, if you don’t trust those, many have water bottle fill-up stations. Even international airports are hopping on the bandwagon by providing travelers with clean, drinking fountains.
And while you may not water fill-up stations in smaller airports or in developing countries, buying a gallon of water and refilling your reusable bottle saves hundreds of bottles yearly.
You can even ask a restaurant or your hotel to fill it for free.
While I was in Vietnam and Thailand, every hotel lobby had a large container of clean water available for guests. Refilling my bottle was SO easy.
And if you’re really worried, you can always look for water bottles that come with filter inserts like the LifeStraw Go Water Filter Bottle. This particular one comes with a 2-stage integrated filter straw but there are similar products out there as well.
Bottom line, carrying a reusable bottle is not only better on your wallet, it’s better for the environment.

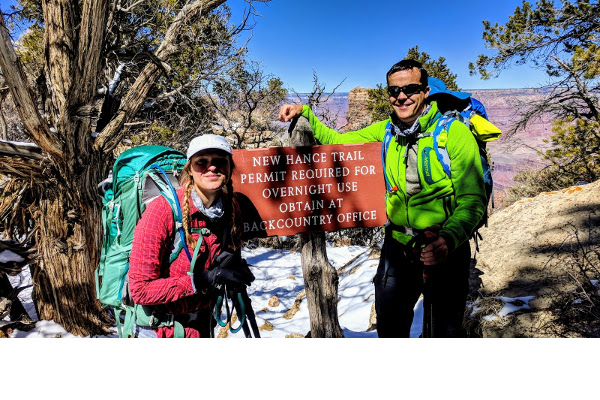
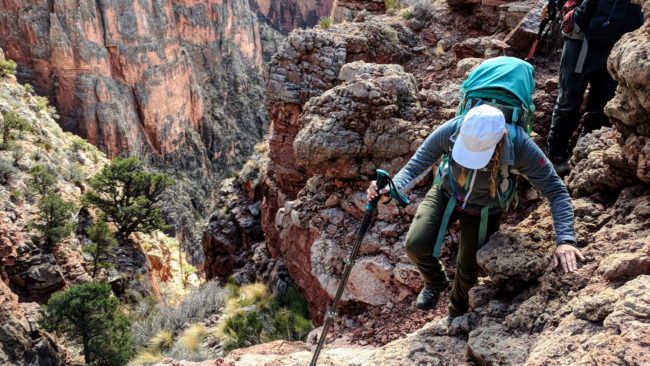
Leave No Trace
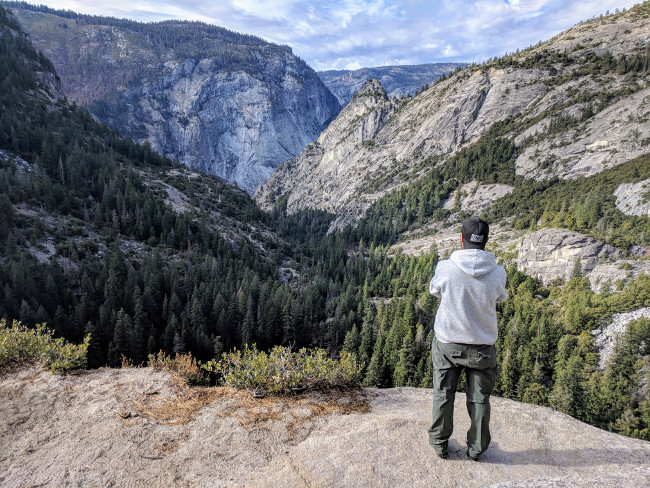
This one is huge to me since I’m not just an travel-lover but also an avid nature lover. And since I backpack and camp, pretty much monthly, Leave No Trace comes up a lot.
Leave No Trace is a national U.S. organization that works to educate the public on how to protect nature by protecting it and enjoying it responsibly.
It’s a pretty easy concept to grasp. Basically, what you pack in, you pack out, using the appropriate recycling methods to help rid nature of human trash and waste.
And while the Leave No Trace organization is primarily focused on the U.S., there’s no reason this concept can’t be taken across oceans to other countries.
Related: How to Ease Stress & Anxiety While Traveling
Thoroughly Research Wildlife Activities
So you traveled all the way to Thailand and you’ve been dying to get that envious photo of you riding an elephant. Here’s my advice for you: DON’T. DO IT!
There are thousands of local businesses touting the opportunity for you to get up close and personal with a variety of wildlife. And while that may sound like an incredible opportunity, think again.
It’s absolutely horrific what happens to these animals.
Take elephant riding for example: baby elephants are ripped away from their mothers, forced into confinement where are starved and beaten. During this time, wranglers will wrestle with the animal until its forced into submission, crushing out the animal’s spirit to survive.
And it’s not just elephants. This kind of treatment happens to monkeys, tigers, leopards, dolphins, the list goes on.
These kind of industries thrive on tourism and ignorance. Be a responsible traveler and learn how local animals are treated.
Better yet! Volunteer at animal preserves or sanctuaries like the Chiang Mai Elephant Nature Park where you’ll learn more about how the animals are rescued and what’s being done to squash elephant riding.
You’ll also get to see the elephants up close, helping to wash, feed and care for them.
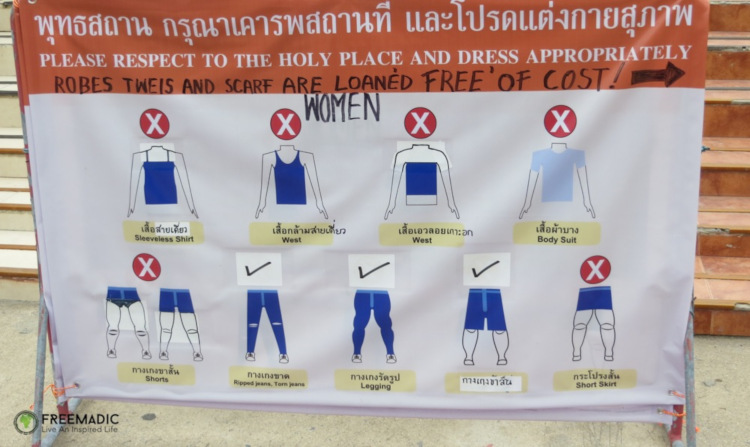
Dress Respectively
I’m not trying to give you fashion advice here, nor am I’m trying to squash whatever belief you have. That being said, I do believe in respecting the local culture by wearing what’s deemed appropriate for the area.
First world countries like the U.S., France, Italy, the U.K., are relatively fine with whatever you want to wear, be it short-shorts, tank-tips, sandals or hats. Other places, like Egypt, Morocco, Vietnam and more tend to follow a more conservative dress code.
I step lightly here as I’m from America where we have varying opinions about clothing and what certain types of dress represent.
Most countries are forgiving to tourist who do not adhere to the local ‘dress code’ but understand that you might not be allowed in certain buildings or areas unless properly dressed.
Take the Buddhist temples in Vietnam – they have signs by entryways advising visitors of what constitutes as proper, respectful wear. For example, men and women couldn’t wear shorts or shirts that exposed the shoulders. You were also asked to remove hats and shoes.
When I was in Morocco the women in my group weren’t required to wear a dress while inside a mosque though many of us did. We did this out of respect for the local customs.
Responsible travelers understand that their freedoms are not being squash; they’re showing respect.
Don’t know what is deemed appropriate for the area you’re heading to? A quick Google search can definitely help.
In my opinion, find comfortable basics. Wear shirts that cover your shoulders, have shorts, long pants, skirts on hand and opt for comfortable, closed toe shoes.
From there, let your creative and personality come through!
Related: Long Haul Flight: Survival List

Ask Before Taking Someone’s Photo
In any country, even your own, you should always ask permission to take a photo of someone.
Of course we all want those incredible, candid shots of everyday life in remote parts of the world but in some cultures, this is a big no-no.
I’m not talking about photos where people are indirectly shown, I’m referring to when you want that person to be the focal point of the image.
As a responsible traveler always asks before taking the photo. If you’ve already snapped away, perhaps show the subject the photo and ask if it’s okay to keep.
In most cases you’ll be fine, although they may ask for you to provide them with a copy via email or ask for a little money (in the case of performers/vendors). However, there may be times when you’re asked to delete it. If this happens, you should respect their wishes and delete the photo – show them that you’ve deleted it.
This isn’t just the case for people but for religious artifacts, religious sites or of items of sensitive nature.
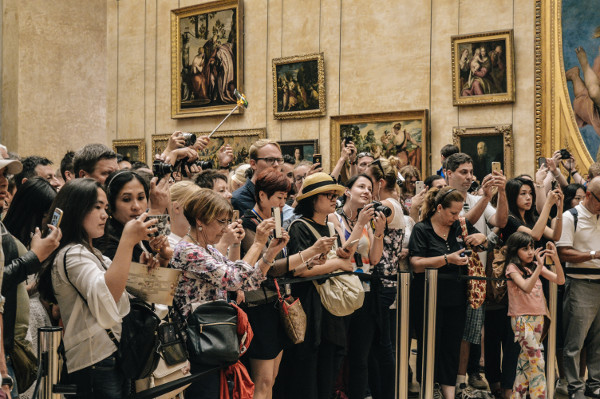
For example, The Louvre in Paris, France – there are areas where you are not allowed to take photos and places you are. This all depends on the artwork and the exhibit.
Places like this, especially sites that are targeted towards tourism, usually provide photography information and restrictions, however, when in doubt, ask if photos are okay.
If you’re told ‘no’, respect that and just commit the experience to memory.
In severe cases, you might have your camera or phone confiscated and/or destroyed. Like I said, those are severe cases and are most likely to happen at military sites and check points in conflicted nations.
If that happens, do not fight them on it. Just hand over the phone or camera and accept the consequences. It’s not worth getting into trouble or risking your life.

Don’t Give Food or Money to Beggars or Children
This was something that kicked me in the gut the first time I went to a foreign country. When I visited Morocco in 2016, it was my first real trip outside of the U.S.
After making introductions and pleasantries with my tour group, our guide went over basic rules including not giving money or food to begging children and adults. Honestly, I was shocked!
Why wouldn’t you want us to help them out? I can’t let a child starve! I had thought at the time.
Our guide explained that by allowing them to beg, you’re encouraging them to continue with this cycle of poverty. By taking away the ‘crutch’ of free food or money, they’d be force to seek help from local organizations that will provide for them. These organizations also teach them useful skills they’d need to find work and provide for themselves.
As much as it pained me, it made sense.
It also became blatant how dangerous begging could be, especially for a child, when Alex and I were in Morocco and we’d see children with their hands cupped for money or candy, all the while an adult would be standing nearby, watching.
Yes…some adults will use children to pull on the heartstrings of unsuspecting tourist.
They’ll use children to obtain money, rob them and use them to lure tourists into back alleyways and shops where they take everything you have.
By giving into the begging, we allow the cycle to continue.
So, what should you do in a situation where a child comes begging for coin or candy? As hard as it is, you need to ignore them.
In some cases, our guide would take the children aside and remind that begging is wrong and advise them on where they could go for a meal.
Usually, the kids just huffed and stalked off but a few headed in the direction he gave them.
If you do want to help these kids out, you still can! By donating to responsible, non-governmental organizations like Save the Children you can make a difference, even if you don’t see the direct impact.
![]()
Educate Others and Spread the Word of Responsible Travel
So you’re home now, you’ve thrown your luggage into the closet and uploaded all your amazing photos to social media. The trip is officially over.
Or is it?
Your trip doesn’t have to end when you get home. Why not tell others about your experience? Perhaps someone else could benefit from what you’ve learned. You may even know a person or two who would be interested to learn more about responsible travel.
So spread the word! Share your responsible travel experience with family, friends and strangers.
By taking a proactive step in informing others about travel you make it easier to obtain, more exciting and add a sense of meaning.
Traveling doesn’t just happen when we leave our country or even our state. Be a responsible traveler in your own city or hometown!
View it through the eyes of a visitor and educate others to do so as well. You’d be amazed at what you’ve been missing that’s right outside your door.
Lastly, Be Kind
We need more of that in the world.
19 Comments on How To Be A Responsible Traveler