If you type in “carry on items for long-haul flight” you’ll get thousands of hits and tons of suggestions. Bring this, bring that, don’t bring this, keep that at home…….
If you type in “carry on items for long-haul flight” you’ll get thousands of hits and tons of suggestions. Bring this, bring that, don’t bring this, keep that at home…. It can be really confusing to figure out what you should bring to keep yourself comfortable and entertained.
So I’ve decided to put together a list my own! Why? Because I’ve tried all these out and I know what works.
Here’s my take on the…
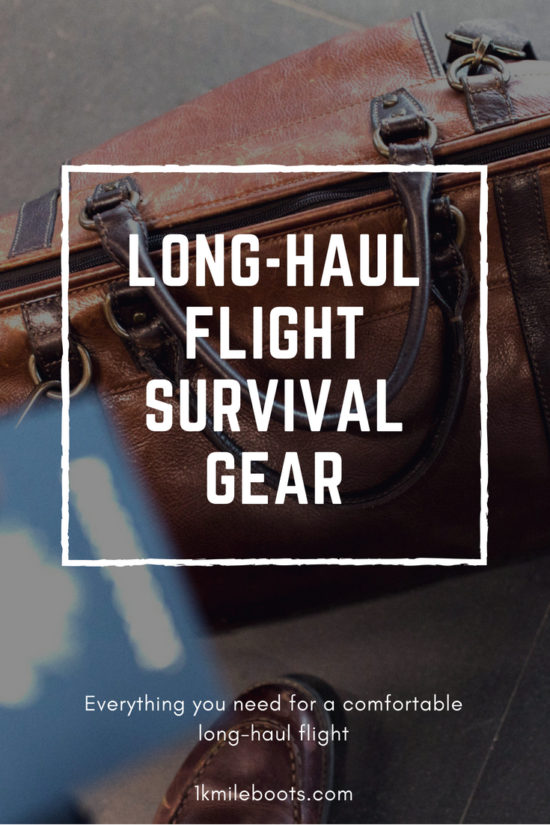
Long-Haul Flight Survival Gear List
Attention: My post may contain Amazon affiliate links! As an Amazon Associate I earn from qualifying purchases.

Gastro-Pak – My Lifesaver:
Prescription Medicines
Consult with your doctor to make sure you get the proper pill count – you’ll need whatever is necessary for your trip, plus a few extra, just in case you miss your flight or are delayed in getting home.
If you require a liquid medication, like insulin, you’ll need a signed letter from your doctor explaining what the medicine is (especially for sharp objects like needles).
Gastro-pak in Clear Case
Ever since I began traveling internationally I’ve brought along a gastro-pak. Plane rides mess with your body’s natural functions and cabin pressure can cause issues like bloating and headaches. Not to mention you might also be adjusting to different time zones which can seriously mess with your metabolism and gut.
Hence, a gastro-pak comes in handy.
There’s no right or wrong way to pack one of these, it’s all up to you on what you think you’ll need, but I usually include:
- Antacids
- Lactose Pills
- Aspirin – IBUProfen – Excedrin
- Anti-Diarrhea Tablets
- Allergy Tablets
- Small Bandaids
- Melatone
Make sure to pack it all in a clear case so you’ll be able to speed through security.

Get Charged for Entertainment:
Rechargeable Battery
Bringing one of these along is great! You won’t have to fight for an available outlet while in the terminal or at your seat and you’ll be guaranteed full electronic life for the duration of your flight.
Just make sure it and your electronics are fully charged before leaving home.
Electronic Cords
Want to be your seatmate’s new BFF? Bring a few different charging cables with you, like: USBC, iPhone & Android. They’ll be in your debt for saving them from a dying battery. It also means they’ll grumble less when you have to wake them to go use the bathroom.
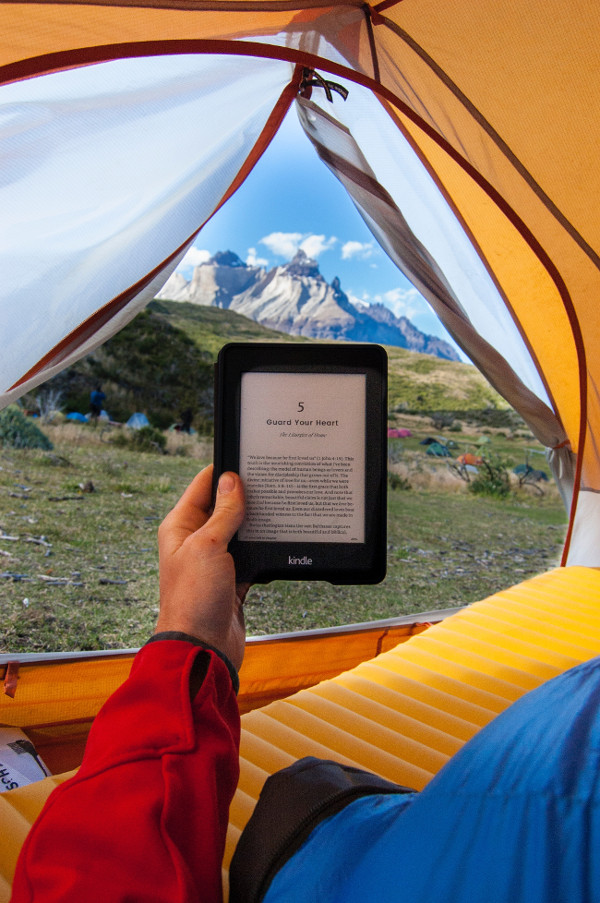
Tablet with Movie, TV Shows, Music, Books, Etc
I never worried about this one until I was on a 16 hour trans-Pacific flight with the worst movie & tv selection I think I’ve ever encountered. Believe me, I was kicking myself in the arse for not taking the time to add stuff to my tablet.
If you’re worried you don’t have space, you can always move apps (or photos) onto your cloud server to make space. After your trip, take large files off and download your missing apps (or photos).
Journal or Sketchbook
This is a great way to pass the time! I always bring a small Moleskin journal with me to jot down my thoughts or collect tidbits of information. I like Moleskin journals best as they don’t get messed up easily, they’re available in tons of colors, styles and sizes.
Besides looking creative and mysterious, sketching or writing are also great ways to relieve stress and tension, which we all experience during a long-haul flight.
Blue or Black Ink Pen*
Okay, I know what you’re thinking. “Andy…unless I’m writing or sketching, what do I need a pen for?”
Well, besides being able to use it to defend yourself from a psycho-killer like Rachel McAdams does in Redeye, you’ll need it to fill out customs paperwork (if flying internationally). They’ll only accept blue or black ink.
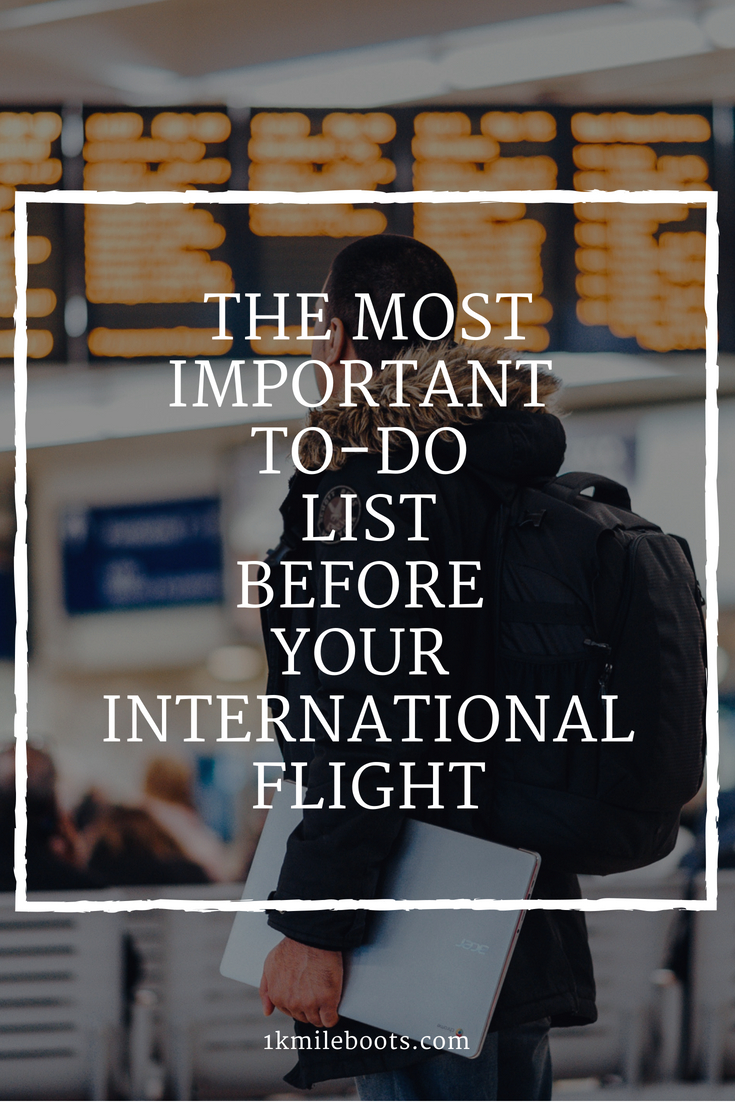
Related: The Most Important To-Do List Before Your International Flight

Long-Haul Flight Zzz’s:
Cheap Eye Mask & Ear Plugs
Do yourself a favor and get these from the Dollar Store. How often are you really going to use them? Besides, the cheaper kind are just as good and if you lose them it won’t be a huge deal.
Cheap Headphones
Same thing here – get a cheap pair. I lose so many earbuds when traveling I’ve definitely wracked up a small bill. Unless you’re wearing noise cancelling headphones or earbuds, you honestly will not notice a difference.
To save money, you can always use the headphones provided on the flight. Just make sure to e-cycle them afterwards if you don’t plan on keeping them.
Neck Pillow
Yes, they look stupid. Yes, you can sleep without one – it just might not be as comfortable. No, please do not wear one as a ‘fashion statement’ through the airport.
While these suckers look ridiculous and I’m always self-conscious when pulling it out of my bag, neck pillows can really help with getting you some shut eye on long flights.
I use a Cloudz Microbead Travel pillow – it was inexpensive and does the job fairly well. Alex, my husband, swears by the Trtl Pillow. It looks funky to me but with over 7,000 reviews all praising it, I might have to give this one a try.
Extra sweater/Jacket
Most flights will have extra airplane blankets but, let’s face it, those things can be super thin and provide minimal heat. That’s where an extra sweater comes in handy!
You can wear it, drape it over your lap or place over your feet for additional warmth. You can also roll it up and place at the base of your spine to help reset your back into a more natural alignment.
Warm/Wool Socks
Personally, I think wool socks are the best thing on the planet. I get excited each Christmas when I get a brand new pair.
In my opinion, SmartWool is a great brand to go with – I’m wearing a pair as I type this post out! SmartWool uses merino wool which is a highly sought after material as it’s moisture-wicking and warm. I don’t just use their socks for travel but also for backpacking, camping and daily wear.
If you’re like me and take your shoes off during long-haul flights, you’ll want to wear merino wool as it doesn’t hold onto smells. Your travel partner and seatmate will be very grateful!
Loose/Comfy Clothing or Pajamas
I don’t do this but some people wear pajama bottoms on overnight flights. While that looks comfortable, it’s just weird to me. I usually wear leggings or a loose pair of pants.

Fresh & So Clean:
Small Toiletries
After sleeping through a long-haul flight, the only thing I really want to do is brush my teeth. Having a small case of essential toiletries can really help you feel like a new person.
I usually carry:
- Toothbrush & Toothpaste
- Face lotion and/or Cleanser
- Comb or Brush
- Travel Size Deodorant
Hand Sanitizer & Lotion
Airplanes are basically petri-dishes and people are usually gross. I touch nothing without using hand sanitizer afterwards. I mean, who wants to get sick from germs on the plane?
The lotion will help to keep your hands from drying out from the sanitizer, as well as from the dry air in the plane. Some airlines, like Eva Air, provide small bottles of lotion in their lavatories but, just in case, you might want to bring a travel bottle of your own. Just be sure it’s unscented.
Baby Wipes
Airplane air is stale and dry making you feel dirty even if all you did was sit in your seat. No wonder the first thing everyone wants to do after getting off the plane is shower!
I usually use baby wipes for backpacking but after a few overnight flights, there’s nothing like using one or two to take a hobo bath!
Extra Underwear
Just like with the baby wipes, it’s refreshing to be clean and swap out your used underwear for a new pair. Not only do you feel more human but you never know when you’re luggage might get lost or delayed – then you have an extra pair of underwear you can switch out and/or wash them until your bag arrives or you buy some new clothing.
Chapstick
Did I mention that airplanes are dry? You’ll thank me later.

Beat Away that Hangry Mood:
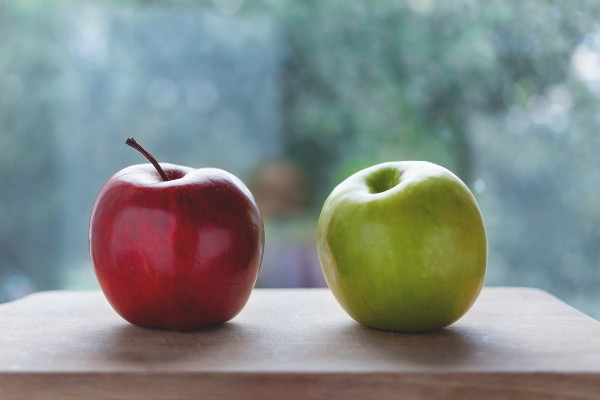
Non-offensive Smelling Snacks
Don’t worry, I’m not going to dictate what you eat on a flight but I do want to point out that smelly foods like bananas, blue cheese and sardines have very potent smells. When you’re stuck in an aluminum tube, for hours, that smell can get offensive very quickly.
Look for snacks that have lighter smells, like:
- Apples
- Grapes
- Carrots
- Pretzels or Chex Mix
- Chips
- Cookies
Energy or Granola Bars – these are my favorite
Empty Water Bottle
I bring one on every trip because I just can’t justify paying $5 for a liter of water. It’s silly! Not to mention, it’s harmful to the environment.
Plenty of airports have filtered water fountains or water filling stations so paying for a fancy bottle isn’t necessary. Just bring an empty water bottle or nalgene through security and fill it up before you board your flight. Now you won’t have to flag down the attendant for those tiny cups when you’re thirsty.
Here are several water bottles that would work:
- Plastic Bottles
- Hydroflask – my favorite!
- Collapsible Bottle
- Hard Plastic Nalgene
Hard Candies/Gum
I took my first flight when I was 5 years old and remember my mom giving me a lollipop or gums to help ‘pop’ my ears.
I always thought it was the act of chewing that did it but apparently it’s swallowing. Chewing helps increase the flow of saliva which makes you swallow and helps to open the Eustachian tube which ‘pops’ your ear.
I still bring gum along on a flight, although I’ve upgrade from a lollipop to hard candies.
Caffeine & Alcohol
I survive off two things: coffee and wine. But too much of either of these things during your long-haul can be really mess with your sleep cycle and make you dehydrated.
On the other end, both are free on long-haul flights and, when balanced with water, can really make for a pleasant trip. Moderation is key though.
I’ll drink coffee to stay up until it’s a ‘suitable’ hour at my destination to sleep – this helps me to readjust to a different time zone so I’m not as jet-lagged. I’m also a anxious flyer so a small glass of wine helps me to relax and become drowsy if I need to sleep during the flight.
But I will say it again: moderation is key. And always re-hydrate with water.
Related: The Most Important To-Do List Before Your International Flight
This list isn’t set in stone. Modify it, customize it to each trip and make it your own! You can even use it for traveling by car, bus, train, boat, whatever you’ll be on.
I really hope these suggestions help you out with your next trip.
If there’s something you believe is a must for a long-haul flight, comment with your suggestion down below!
11 Comments on Long-Haul Flight Survival List